Are you tired of seeing all the advertisements when you are browsing the web? Adguard Home is an ad-blocker that you can install on your homelab and implement network-wide ad and tracker-blocking when you are connected to your Wi-Fi network. There is no need for any third-party apps installation on your phones and devices.
Features
- network wide ad-blocker and tracker-blocker using the “DNS sinkholing” method
- able to block domains using filter and hosts files
- Allow parental control to block harmful content
- Enforce safe search in various search engines
- Monitor your network activity
- Built-in DHCP server
- Running as a DNS-over-HTTPS or DNS-over-TLS server
- Blocking phishing and malware domains
- Running without root privileges
Installation
The easiest way to install it on your homelab is via Docker and Docker-compose.
First, create an adguard folder:
mkdir adguard
cd adguard
Create a docker-compose.yml file:
nano docker-compose.ymlPaste the following content:
services:
  adguardhome:
    image: adguard/adguardhome
    container_name: adguardhome
    ports:
      - 53:53/tcp
      - 53:53/udp
      - 67:67/tcp
      - 67:67/udp
      - 68:68/udp
      - 80:80/tcp
      - 443:443/tcp
      - 443:443/udp
      - 3000:3000/tcp
      - 784:784/udp
      - 853:853/tcp
      - 3033:3000/tcp
      - 853:853/tcp
      - 784:784/udp
      - 853:853/udp
      - 8853:8853/udp
      - 5443:5443/tcp
      - 5443:5443/udp
    volumes:
      - ./workdir:/opt/adguardhome/work
      - ./confdir:/opt/adguardhome/conf
    restart: unless-stopped
Regarding the ports, there are a few things to take note here:
53 tcp/udp: This is meant for plain DNS. It is the default and should always be included.67 udp, 68 tcp/udp: only include this if you intend to use AdGuard Home as a DHCP server. For basic installation, you can omit this.80 tcp, 443 tcp/udp, 3000 tcp: add if you are going to use AdGuard Home’s admin panel as well as run AdGuard Home as an HTTPS/DNS-over-HTTPSâ . If you are running a reverse proxy, you can map these ports to another ports other than 80, 443 and 3000.853 tcp: add this if you are going to run AdGuard Home as a DNS-over-TLSâ .784 udp, 853 udp, 8853 udp: add if you are going to run AdGuard Home with DNS-over-QUICâ . You may only leave one or two of these.5443 tcp, 5443 udp: add if you are going to run AdGuard Home as a DNSCryptâ server.
In short, for a simple and basic setup with reverse proxy, you can just use the following setup:
ports:
      - 53:53/tcp
      - 53:53/udp
      - 784:784/udp
      - 853:853/tcp
      - 3000:3000/tcp
      - 8080:80/tcp
      - 4443:443/tcp
With the docker-compose file ready, start the docker container:
docker compose up -dIn your browser, go to the address: http://127.0.0.1:3000/ or http://localhost:3000 and you would be able to access the admin panel and configure Adguard Home.
Usage
Setting up Adguard Home is easy. Most of the default options will work fine, though if you want to fine tune your Adguard Home setup, you can log in to the Dashboard to access the Settings.
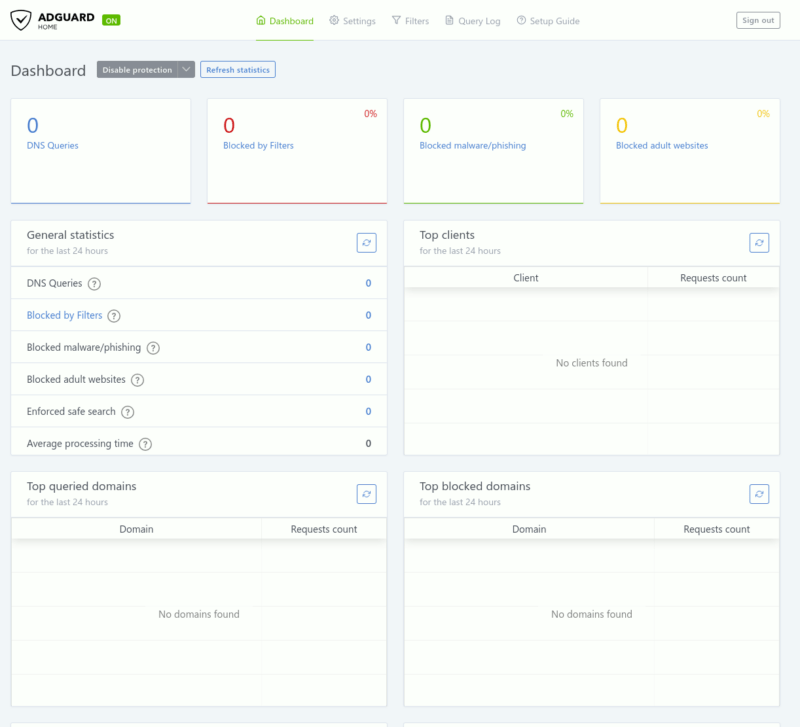
There are several Settings sections, such as General, DNS, Encryption, Client and DHCP.
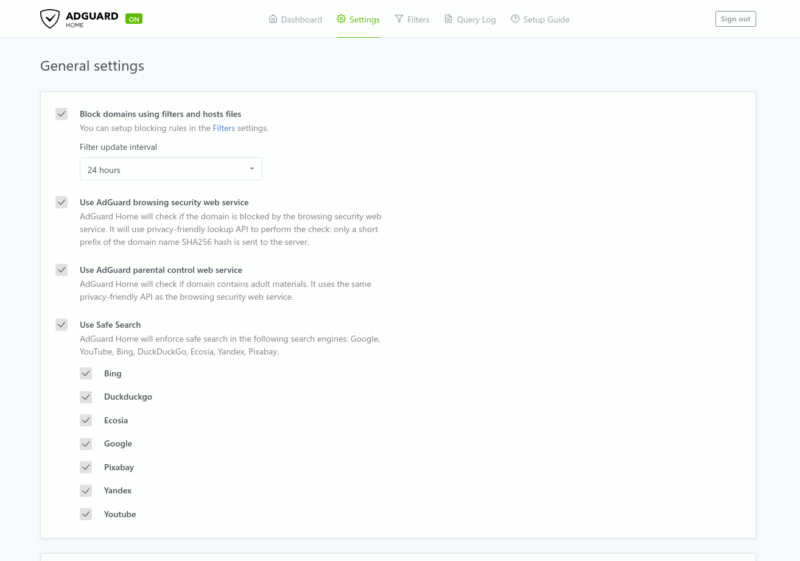
In the General settings, you might want to check all the checkboxes to enable everything. This includes:
- Block domain using filters and hosts files.
- Use Adguard browsing security web service
- Use Adguard parental control
- Use Safe search
The DNS settings is where you can configure the DNS of Adguard Home. If you are not aware, the DNS (domain name system) is where the network used to query the domain name and IP address of a site. By using a custom DNS, it can analyze the traffic and filter out unwanted content before it reaches you.
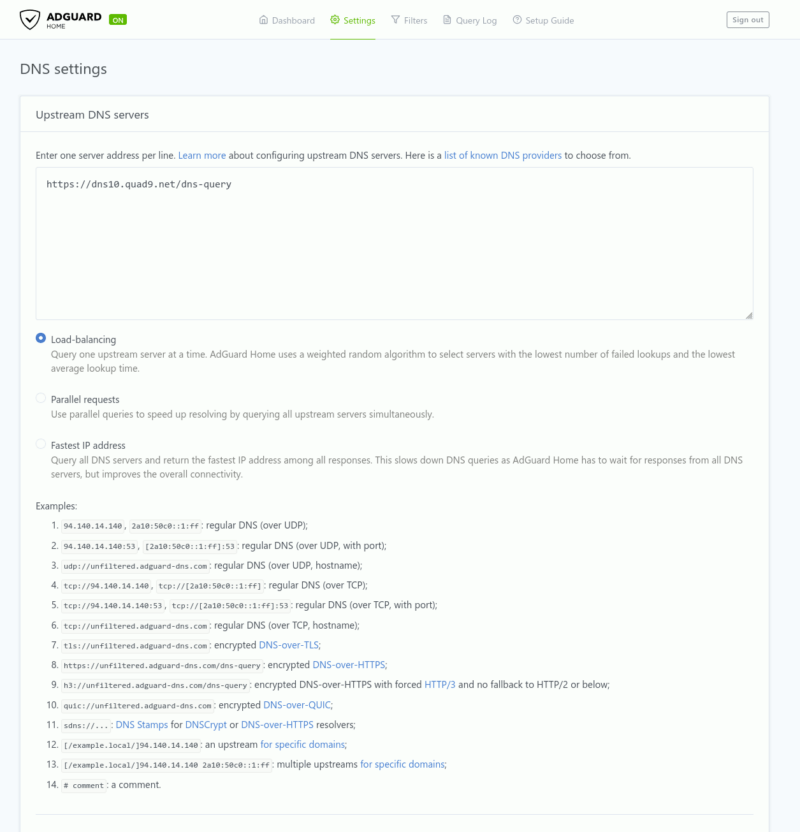
Adguard also provides a list of DNS providers that you can use in your list.
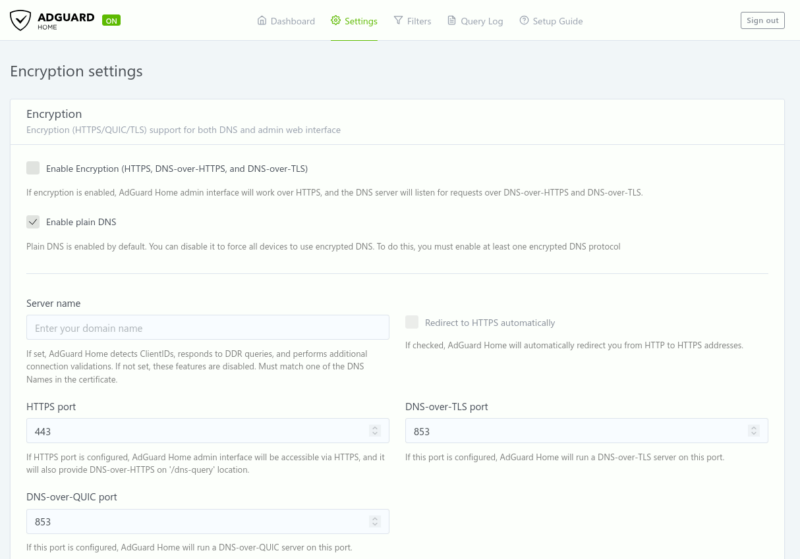
Adguard Home supports DNS-over-HTTPS and DNS-over-TLS out of the box, and you can enable it in the Encryption settings. Do note that you have to provide your own SSL certificate to make use of the encryption features.
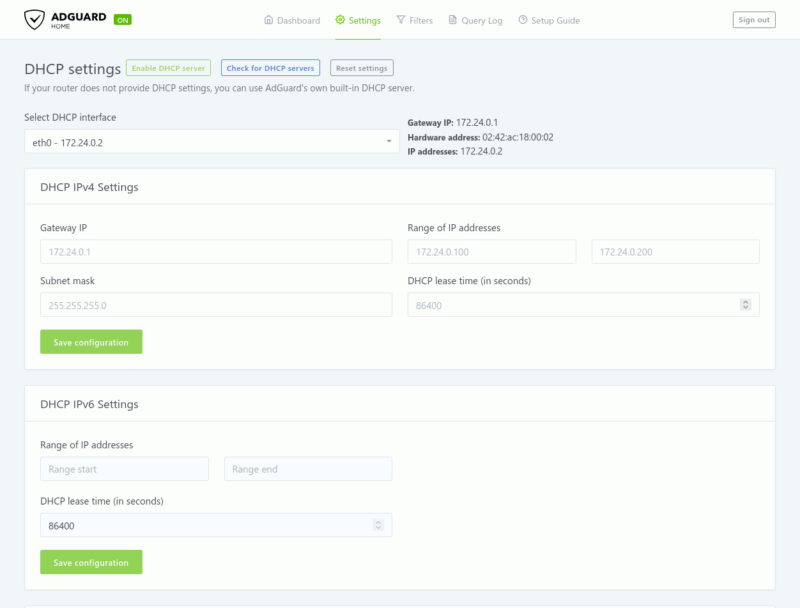
The DHCP server is something you won’t need, unless your router doesn’t support custom DNS. If required, you can enable the DHCP settings to turn your Adguard Home installation into a DHCP server.
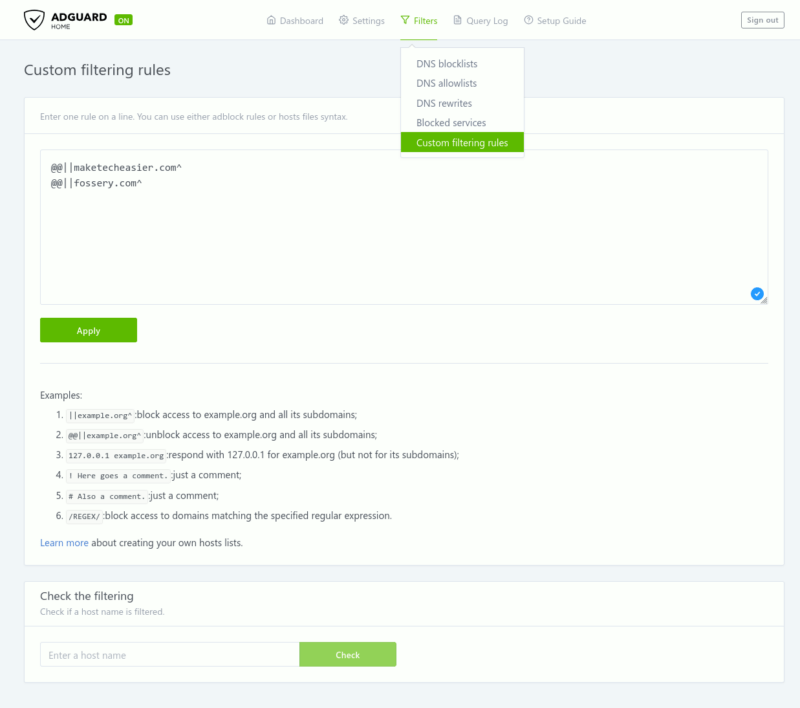
If you have come this far and not make any changes to the Filter list, then you are not making full use of Adguard Home. The best part of Adguard Home, and the only reason why you want to install Adguard Home, is to be able to control the content that comes into your network. The Filter section is the area for you to do just that.
Finalizing the Setup
Now that you have done the configuration, for Adguard Home to work, you need to log in to your router admin interface, and set the WLAN’s DNS settings to point to your Adguard Home instance.
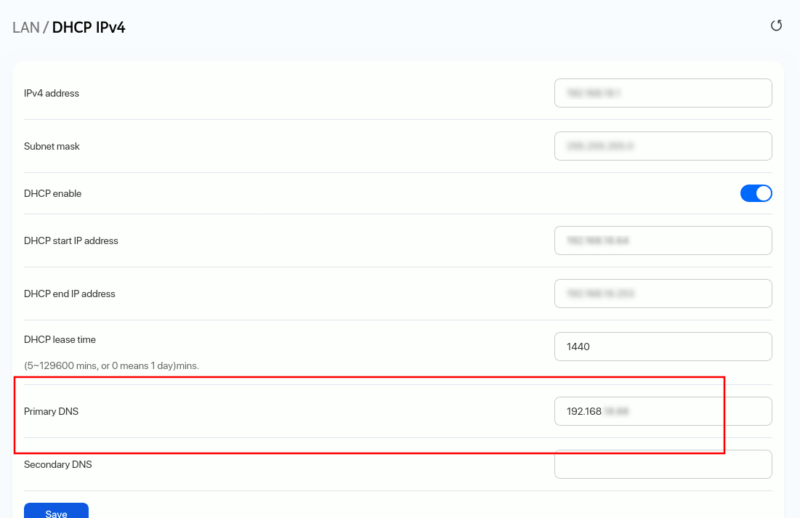
In my instance, I have to point in to the internal IP address of my homelab where Adguard Home is installed.
Final Thoughts
If you are looking for ways to block advertisement and trackers for all your home devices, Adguard Home provides a reliable solution that you can quickly and easily set up in your homelab.

Be the first to comment! Get the discussion going.