Similar to Jellyfin, which is your personal Netflix or media collection, audiobookshelf provides you with a personal library where you can stream audiobooks and listen to podcasts at your leisure without relying on third-party services. With audiobookshelf, you’re not only saving on subscription fees, but also ensuring that your content stays secure and private on your own server.
Features
- Supports a clean, intuitive user interface
- Handles multiple media formats
- Offers native apps for Android and iOS (beta testing)
- Provides customizable metadata and library organization
- Easily integrates with Docker (for those running a homelab)
- Offers security and privacy with options to use reverse proxies and secure HTTPS connections
- Allows multiple user accounts
- Provides automatic progress tracking and bookmarks
- Includes a sleep timer and playback controls
- Supports built-in podcast functionality, allowing you to search for and add podcasts to your server
Installation
The simplest method to set up audiobookshelf on your homelab server is to use Docker. Before diving into the installation, ensure that your homelab server is updated and that Docker and Docker Compose are installed.
First, create a dedicated directory structure for your audiobookshelf setup:
mkdir audiobookshelf
cd audiobookshelf
audiobookshelf requires a few directories to store your media files, configurations, and metadata. Let’s create a directory structure in your audiobookshelf home folder:
mkdir config
mkdir metadata
mkdir audiobooks
mkdir podcasts
Next, you’ll need to create a docker-compose.yml file for audiobookshelf:
nano docker-compose.ymlPaste the following configuration into the file:
services:
  audiobookshelf:
    image: ghcr.io/advplyr/audiobookshelf:latest
    ports:
      - 13378:80
    volumes:
      - ./audiobooks:/audiobooks
      - ./podcasts:/podcasts
      - ./config:/config
      - ./metadata:/metadata
    environment:
      - TZ=Europe/London
Replace the Timezone with your actual timezone (e.g., America/New_York or Europe/London). The default port is 13378, but you can change this to any available port on your server. Also, modify the paths of all volume directories to match the specified directories you created earlier on your host.
With your Docker Compose file ready, navigate to the directory where it’s saved and start the container:
docker-compose up -dDocker will pull the audiobookshelf image if it isn’t already available, then start the container. You can check its status with:
docker psYou should see the audiobookshelf container running, with the port mapping in place.
Once the container is running, you can access the audiobookshelf web interface by navigating to:
http://<your_server_ip_addr>:13378Replace with the IP address of your homelab server. You should now be greeted by the audiobookshelf web interface.
Usage
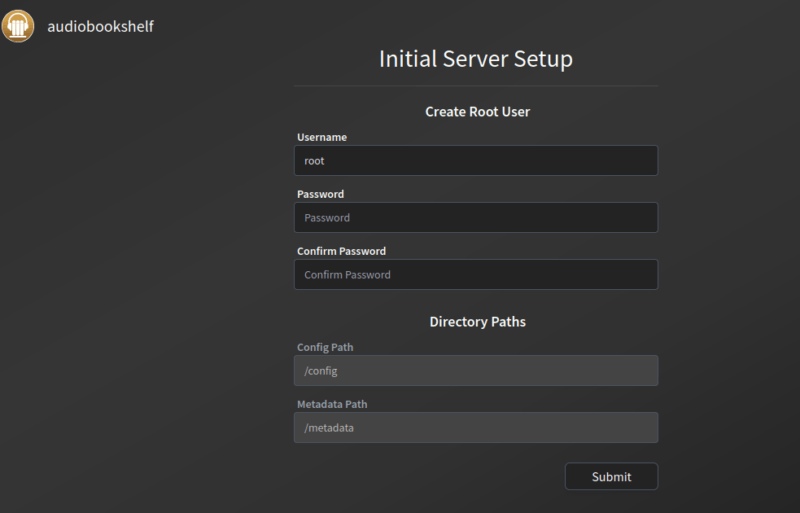
When you first see the interface, you’ll be requested to set up an admin account. Make sure to use a strong password, especially if you plan to make your server accessible outside your local network.
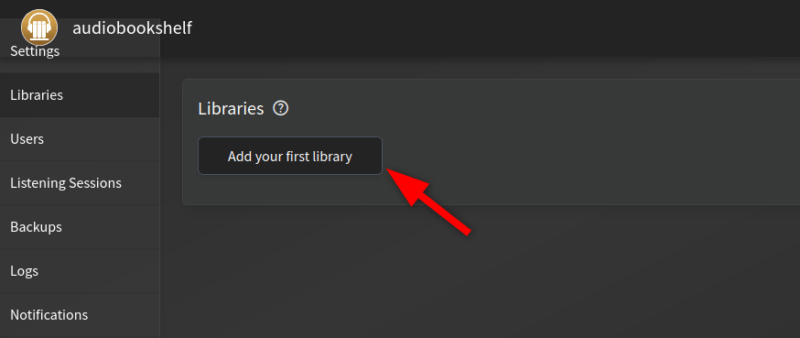
After creating your admin account, you’ll need to set up your first library. Simply click on the Add Your First Library option.
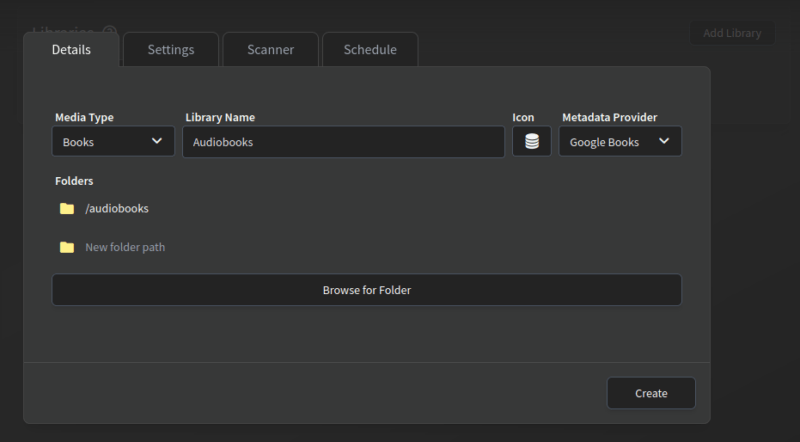
Next, give your library a name (e.g., Audiobooks) and select the appropriate library type (Audiobooks or Podcasts). Set the folder path to the corresponding directory (e.g., /audiobooks for your audiobook library). Also, configure additional settings such as scan schedules or metadata providers. Finally, click Create.
You can repeat this process to set up a podcast library if needed, pointing to the “/podcasts” directory.
Now, it’s time to add media to the appropriate directories. You have several options. For example, you can transfer files directly or share your media over a network.
For direct file transfer, copy files to the “~/audiobookshelf/audiobooks” and “~/audiobookshelf/podcasts” directories on your server. If you prefer a network share, set up a Samba or NFS share for the media directories, making it easy to transfer files from other computers on your network. Alternatively, you can use an SFTP client to privately send files to your server.
After adding media, initiate a library scan in the audiobookshelf interface to detect and catalog your new content.
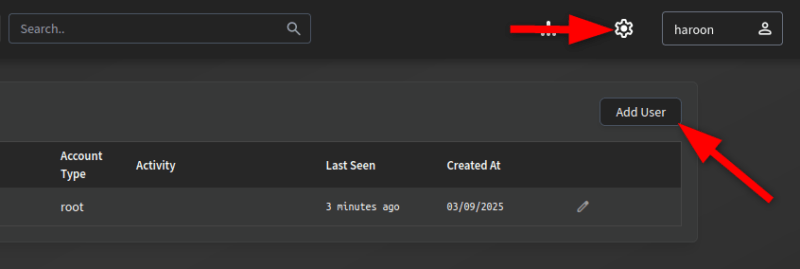
One of audiobookshelf’s strengths is its multi-user support. To add users, go to the Settings menu and select Users. Click Add User and fill in the information. You can set permissions for each user, controlling which libraries they can open and whether they have administrative privileges.
Each user gets individual progress tracking, bookmarks, and playback settings. This means family members or friends can use your audiobookshelf server without affecting your listening progress or preferences.
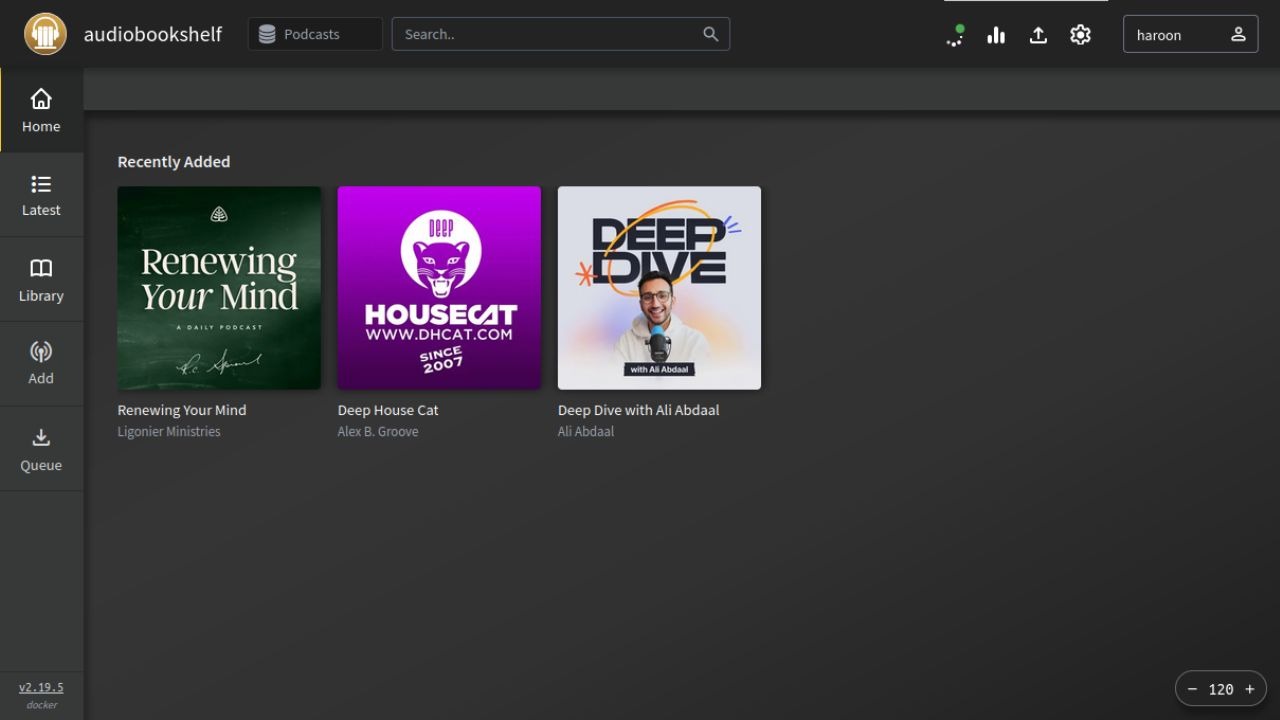
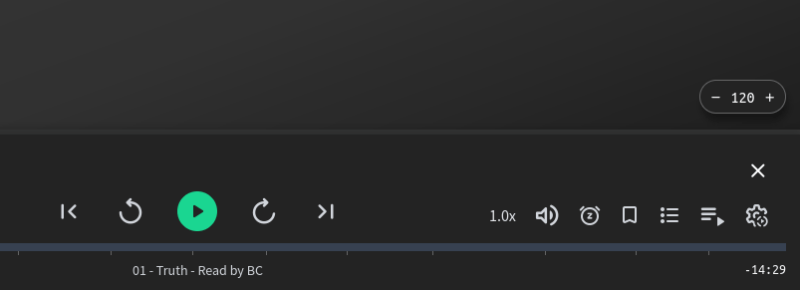
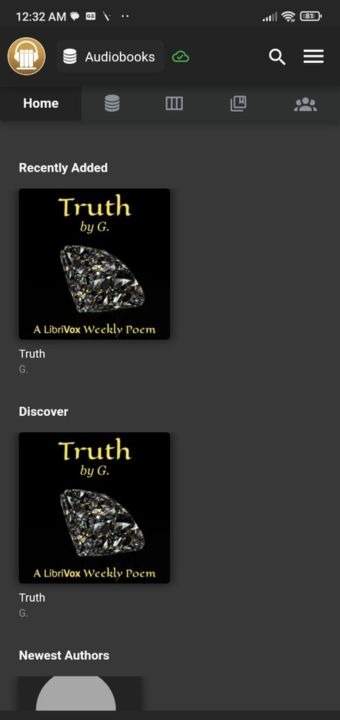
Audiobookshelf player interface
The audiobookshelf player interface is intuitive for daily listening. It includes all the expected features: playback speed control, chapter navigation, a sleep timer, and bookmarking. The application remembers your place in each book, allowing you to switch between titles without losing progress.
For podcast listeners, the podcast management features let you subscribe to your favorite shows and automatically download new episodes as they become available. This ensures fresh content is always ready without manual intervention.

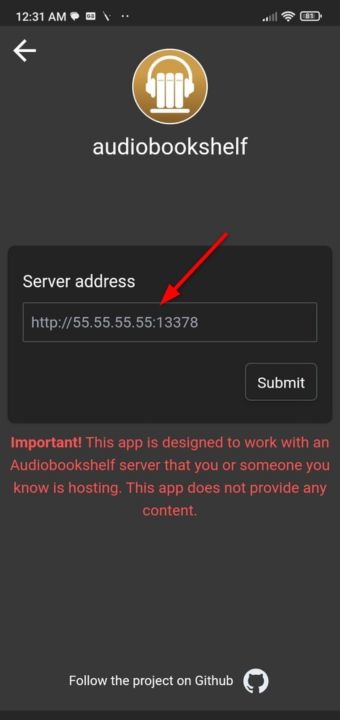
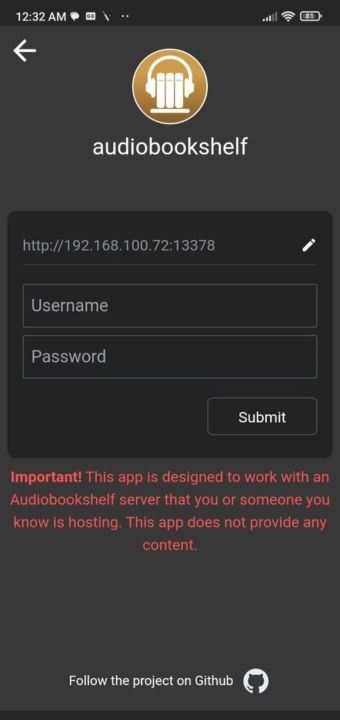
Audiobookshelf mobile apps connections
While the web interface works well on mobile browsers, audiobookshelf also offers dedicated mobile apps for Android and iOS (currently in beta). These apps provide a more optimized mobile experience with options like offline listening and background playback.
To connect the mobile app to your server, download the app from the appropriate store, open it, and enter your server’s URL (http://your-server-ip:13378) when prompted to Connect to Server.
Sign in with the user credentials you created earlier to access your entire audiobook and podcast collection on the go.
That’s it! You can now use your self-hosted audiobook and podcast server right from your mobile phone.
Additionally, if you want to access your server outside your home network, you’ll need to set up port forwarding on your router or use a reverse proxy service such as implementing HTTPS using a service like Nginx Proxy Manager.
Final Thoughts
audiobookshelf is a simple and versatile platform for hosting and managing your personal collection of audiobooks and podcasts. It offers complete control over your media – freeing you from subscription fees and third-party restrictions, while ensuring your data remains private.
Designed with both ease of use and flexibility in mind, audiobookshelf is simple to install and deploy, making it a great fit for both beginners and older homelab enthusiasts. If you’re looking to build a customized, self-hosted audio library that adapts to your needs, I wholeheartedly recommend giving audiobookshelf a try.
Be the first to comment! Get the discussion going.