Blocky is a simple and lightweight DNS proxy for Linux-based home servers. Similar to Adguard Home and Pi-Hole, it works by redirecting DNS queries to an invalid address allowing you to control the websites and services available on your network.
Features
- Comes with pre-built filter for fast deployments
- Highly configurable blocklists with support for different groups
- Supports both legacy and modern DNS protocols
- Supports encrypted DNS by default
- Doesn’t rely on a database for storing data
- Resource-efficient and completely silent on normal use
Installation
The fastest way to install and deploy Blocky is by using Docker and Docker Compose. To do that, first create a folder for Blocky:
<span style="color: #c20cb9; font-weight: bold;">mkdir</span> blocky<br /><span style="color: #7a0874; font-weight: bold;">cd</span> blockyCreate the configuration file for Blocky using your favorite text editor:
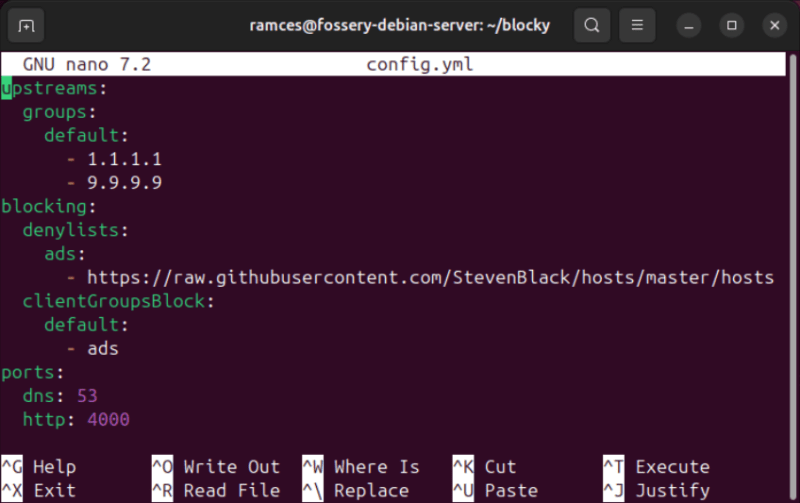
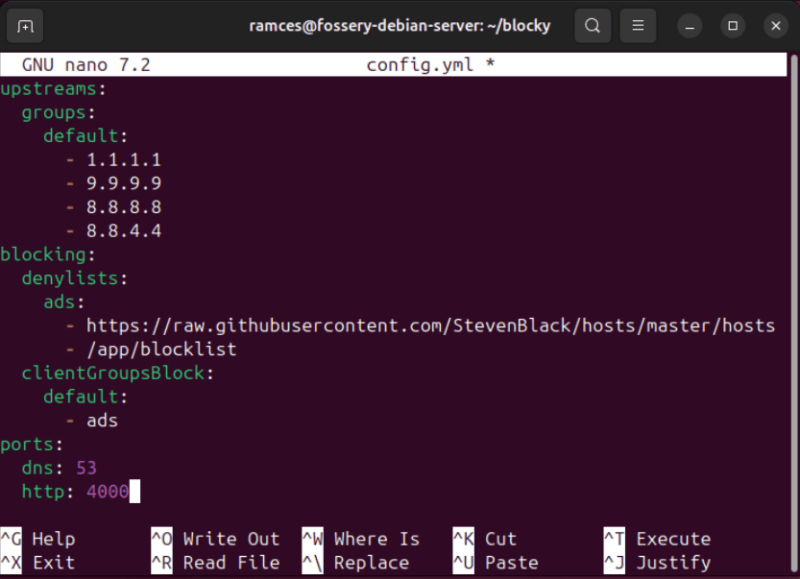
<span style="color: #c20cb9; font-weight: bold;">nano</span> .<span style="color: #000000; font-weight: bold;">/</span>config.ymlPaste the following block of code inside it. This is the sample config template for Blocky that I modified to use both Cloudflare and Quad9 DNS servers:
<span style="color: #007F45;">upstreams</span>:<span style="color: #007F45;"><br /> groups</span>:<span style="color: #007F45;"><br /> default</span><span style="font-weight: bold; color: brown;">:<br /></span> - 1.1.1.1<br /> - 9.9.9.9<span style="color: #007F45;"><br />blocking</span>:<span style="color: #007F45;"><br /> denylists</span>:<span style="color: #007F45;"><br /> ads</span><span style="font-weight: bold; color: brown;">:<br /></span> - https://raw.githubusercontent.com/StevenBlack/hosts/master/hosts<span style="color: #007F45;"><br /> clientGroupsBlock</span>:<span style="color: #007F45;"><br /> default</span><span style="font-weight: bold; color: brown;">:<br /></span> - ads<span style="color: #007F45;"><br />ports</span>:<span style="color: green;"><br /> dns</span><span style="font-weight: bold; color: brown;">: </span>53<span style="color: green;"><br /> http</span><span style="font-weight: bold; color: brown;">: </span>4000Save the new config file, then create the docker-compose.yml for your Blocky instance:
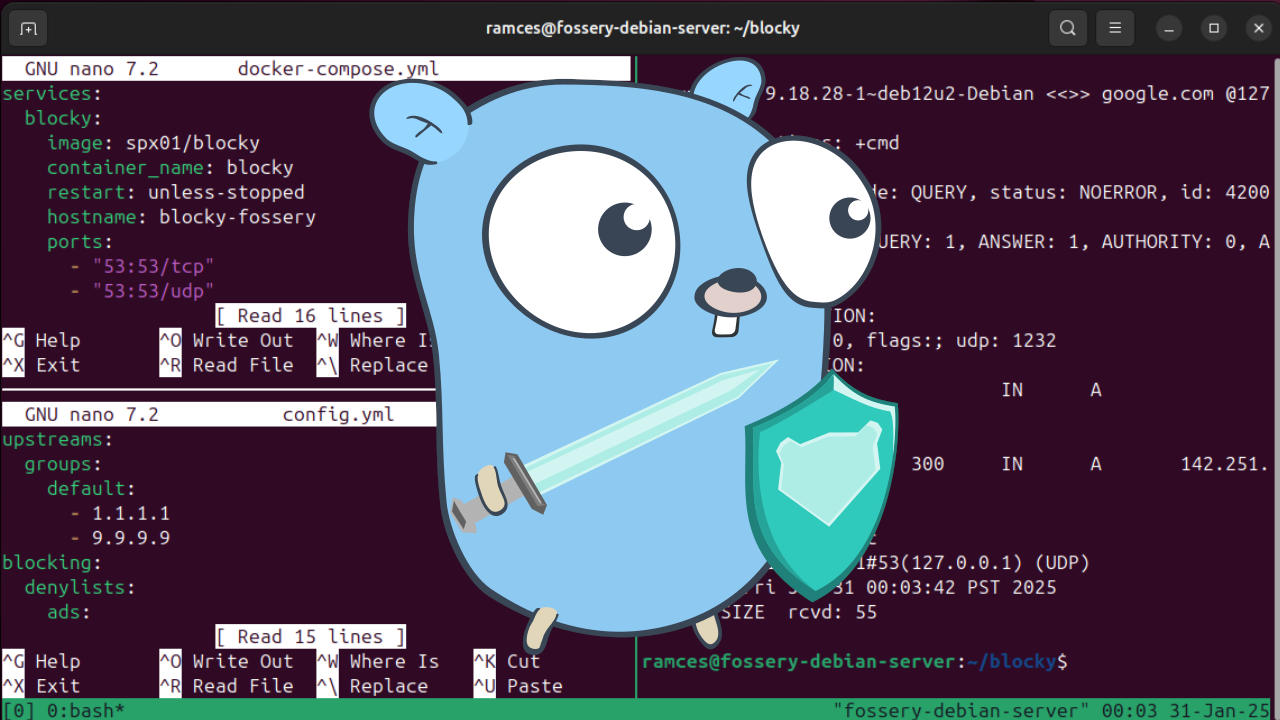
<span style="color: #c20cb9; font-weight: bold;">nano</span> .<span style="color: #000000; font-weight: bold;">/</span>docker-compose.ymlPaste the following block of code inside it:
services:<br /> blocky:<br /> image: spx01<span style="color: #000000; font-weight: bold;">/</span>blocky<br /> container_name: blocky<br /> restart: unless-stopped<br /> hostname: blocky-fossery<br /> ports:<br /> - <span style="color: #ff0000;">"53:53/tcp"</span><br /> - <span style="color: #ff0000;">"53:53/udp"</span><br /> - <span style="color: #ff0000;">"4000:4000/tcp"</span><br /> environment:<br /> - <span style="color: #007800;">TZ</span>=Asia<span style="color: #000000; font-weight: bold;">/</span>Manila<br /> volumes:<br /> - <span style="color: #000000; font-weight: bold;">/</span>etc<span style="color: #000000; font-weight: bold;">/</span>localtime:<span style="color: #000000; font-weight: bold;">/</span>etc<span style="color: #000000; font-weight: bold;">/</span>localtime:ro<br /> - .<span style="color: #000000; font-weight: bold;">/</span>config.yml:<span style="color: #000000; font-weight: bold;">/</span>app<span style="color: #000000; font-weight: bold;">/</span>config.yml:roMake sure to replace the TZ variable with your appropriate timezone. In Ubuntu and other Systemd-based distros, you can find the available timezones by running ls /usr/share/zoneinfo.
Save your docker-compose.yml file, then run the following command to install and run Blocky:
<span style="color: #c20cb9; font-weight: bold;">docker compose</span> up <span style="color: #660033;">-d</span>Usage
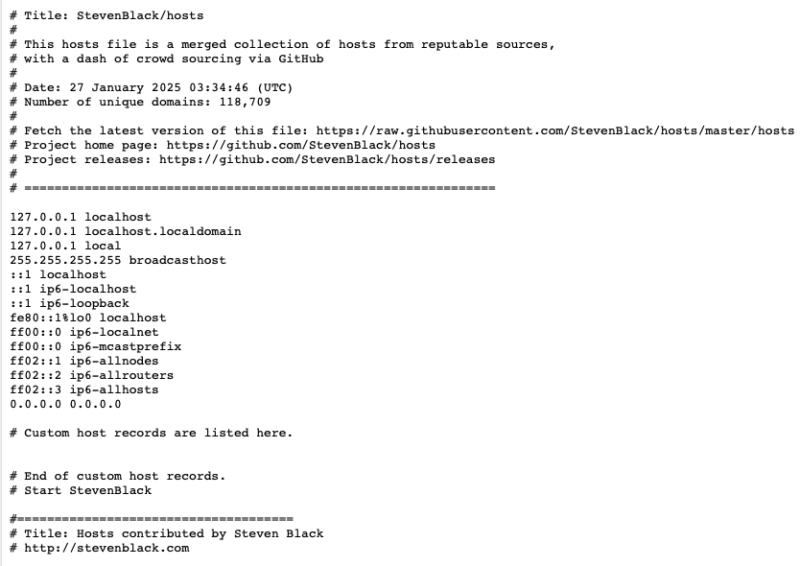
At this point, you now have a working Blocky setup. As a DNS server, it will forward any DNS request to either Cloudflare or Quad9 and it uses Steven Black’s famous blocklist for common ads and tracking services.
Despite being incredibly simple to deploy, Blocky also comes with a ton of options if you want to customize your DNS server. For that, you can re-open the config.yml file using your favorite text editor.
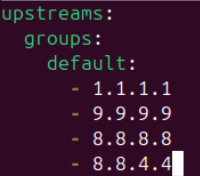
Tweaking this file is as simple as adding or removing entries. For instance, you can insert a new DNS upstream by creating a new bullet point under the “upstreams:” category and adding its IP address.
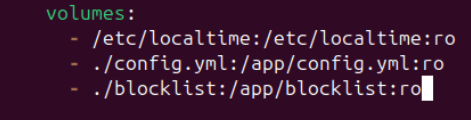
This feature also extends to blocklists. While the default configuration already includes an extensive filter, you can also define your own or import from an external source. Just make sure to declare the file path in the “volumes:” section of your docker-compose.yml file if you decide to create your own blocklist.
To top it off, Blocky also supports DNS-over-HTTP and DNS-over-TLS similar to AdGuard. This feature alone makes it an invaluable tool if you’re planning to run a private DNS server on the internet.
Once you’re done tweaking your Blocky instance, simply save your config.yml file, then run docker compose up -d to rebuild and redeploy Blocky with your new settings.
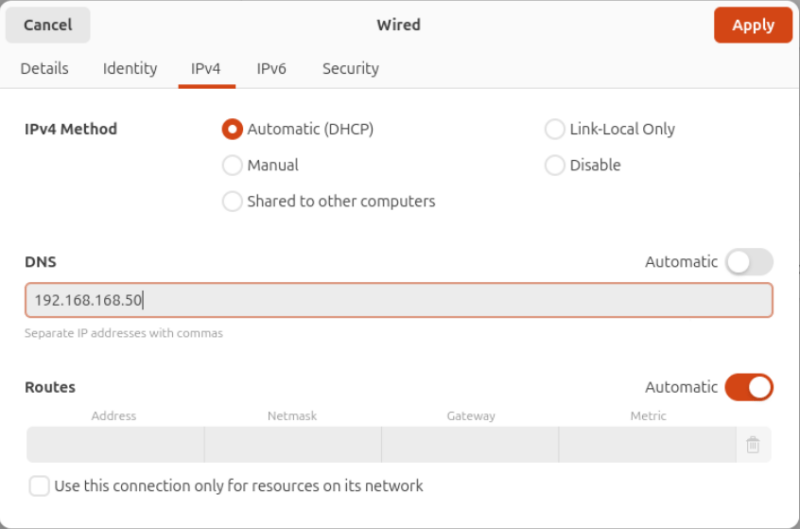
Lastly, apply your new DNS server to your network by adding the IP address of the Blocky instance to either your PC or router’s DNS settings.
Final Thoughts
Blocky is a great terminal-based DNS proxy that’s flexible and easy to use. It’s quick to deploy, has great default settings, and offers advanced features such as DoH and DoT. Being CLI-only also means that Blocky doesn’t need a lot of resources to run. This makes it a great fit for low-end home servers and SoCs such as the Raspberry Pi.
Ultimately, Blocky is a highly versatile and feature-filled tool. I recommend it if you’re looking for a no-frills DNS server that can run on almost any architecture and OS platform. Having said that, Blocky isn’t the only DNS server solution available today. If you’re looking for a more user-friendly network-wide ad blocker, check out our brief review of the Pi-Hole.
Image credit: Blocky Github (Logo). All alterations and screenshots by Ramces Red.
Be the first to comment! Get the discussion going.