Jellyfin is your personal Netflix, allowing you to manage, organize, and stream your media collection from anywhere – making it perfect for your homelab server. Plus, it’s completely free and open-source, prioritizing privacy, customization, and ownership.
Features
- Automatically retrieves metadata (such as movie posters and actor bios) from the internet.
- Allows metadata customization.
- Streams your media to virtually any device – phones, tablets, smart TVs.
- Adjusts video quality to match your device and network speed.
- Supports separate accounts for family members, each with individual profiles and watch history.
- Enables live TV streaming and plugins.
- Supports all major media formats – from MP4 videos to FLAC audio files.
- Synchronizes playback across devices for remote watch parties.
- Manages movies, TV shows, music, photos, e-books, and live TV/DVR.
Installation
Now, let’s set up Jellyfin. For a homelab, Docker is the best choice. First, install Docker on your server. Once it’s ready, use a Docker Compose file to define your Jellyfin container.
Let’s create a folder for Jellyfin:
<span style="color: #c20cb9; font-weight: bold;">mkdir</span> jellyfin<br /><span style="color: #7a0874; font-weight: bold;">cd</span> jellyfinCreate a docker-compose.yml file to set up Jellyfin:
<span style="color: #c20cb9; font-weight: bold;">nano</span> .<span style="color: #000000; font-weight: bold;">/</span>docker-compose.ymlPaste the following content:
<span style="color: #007F45;">services</span>:<span style="color: #007F45;"><br /> jellyfin</span>:<span style="color: green;"><br /> image</span><span style="font-weight: bold; color: brown;">: </span>jellyfin/jellyfin<span style="color: green;"><br /> container_name</span><span style="font-weight: bold; color: brown;">: </span>jellyfin<span style="color: green;"><br /> user</span><span style="font-weight: bold; color: brown;">: </span>uid:gid <span style="color: blue;"># Replace with your user ID and group ID</span><span style="color: green;"><br /> network_mode</span><span style="font-weight: bold; color: brown;">: </span>'host'<span style="color: #007F45;"><br /> volumes</span><span style="font-weight: bold; color: brown;">:<br /></span> - /path/to/config:/config<br /> - /path/to/cache:/cache<span style="color: green;"><br /> - type</span><span style="font-weight: bold; color: brown;">: </span>bind<span style="color: green;"><br /> source</span><span style="font-weight: bold; color: brown;">: </span>/path/to/media<span style="color: green;"><br /> target</span><span style="font-weight: bold; color: brown;">: </span>/media<span style="color: green;"><br /> - type</span><span style="font-weight: bold; color: brown;">: </span>bind<span style="color: green;"><br /> source</span><span style="font-weight: bold; color: brown;">: </span>/path/to/media2<span style="color: green;"><br /> target</span><span style="font-weight: bold; color: brown;">: </span>/media2<span style="color: green;"><br /> read_only</span><span style="font-weight: bold; color: brown;">: </span>true<br /> <span style="color: blue;"># Optional - extra fonts for subtitle burn-in</span><span style="color: green;"><br /> - type</span><span style="font-weight: bold; color: brown;">: </span>bind<span style="color: green;"><br /> source</span><span style="font-weight: bold; color: brown;">: </span>/path/to/fonts<span style="color: green;"><br /> target</span><span style="font-weight: bold; color: brown;">: </span>/usr/local/share/fonts/custom<span style="color: green;"><br /> read_only</span><span style="font-weight: bold; color: brown;">: </span>true<span style="color: green;"><br /> restart</span><span style="font-weight: bold; color: brown;">: </span>unless-stopped<br /> <span style="color: blue;"># Optional - alternative address for auto-discovery</span><span style="color: #007F45;"><br /> environment</span><span style="font-weight: bold; color: brown;">:<br /></span> - JELLYFIN_PublishedServerUrl=http://example.com<br /> <span style="color: blue;"># Optional - required for Docker healthcheck in host mode</span><span style="color: #007F45;"><br /> extra_hosts</span><span style="font-weight: bold; color: brown;">:<br /></span> - 'host.docker.internal:host-gateway'Before running the container, update the User ID & Group ID (user: uid:gid). Replace uid:gid with your actual user and group ID on your host system. To get your user ID information, execute the id command in the terminal.
Also, update /path/to/config and /path/to/cache with your preferred storage locations. I recommend creating a directory inside the Jellyfin folder for convenience. Additionally, update /path/to/media with the folder containing your media files. If you have multiple media folders, modify or add more bind mounts.
Note: Some optional settings can be adjusted using docker compose file based on your preferences, such as custom fonts, a published server URL, and more.
Once you’re satisfied with your settings, save and close the docker-compose.yml file. Start the installation using this:
<span style="color: #c20cb9; font-weight: bold;">sudo</span> <span style="color: #c20cb9; font-weight: bold;">docker compose</span> up <span style="color: #660033;">-d</span>That’s it! Jellyfin is now running and accessible on your server.
Usage
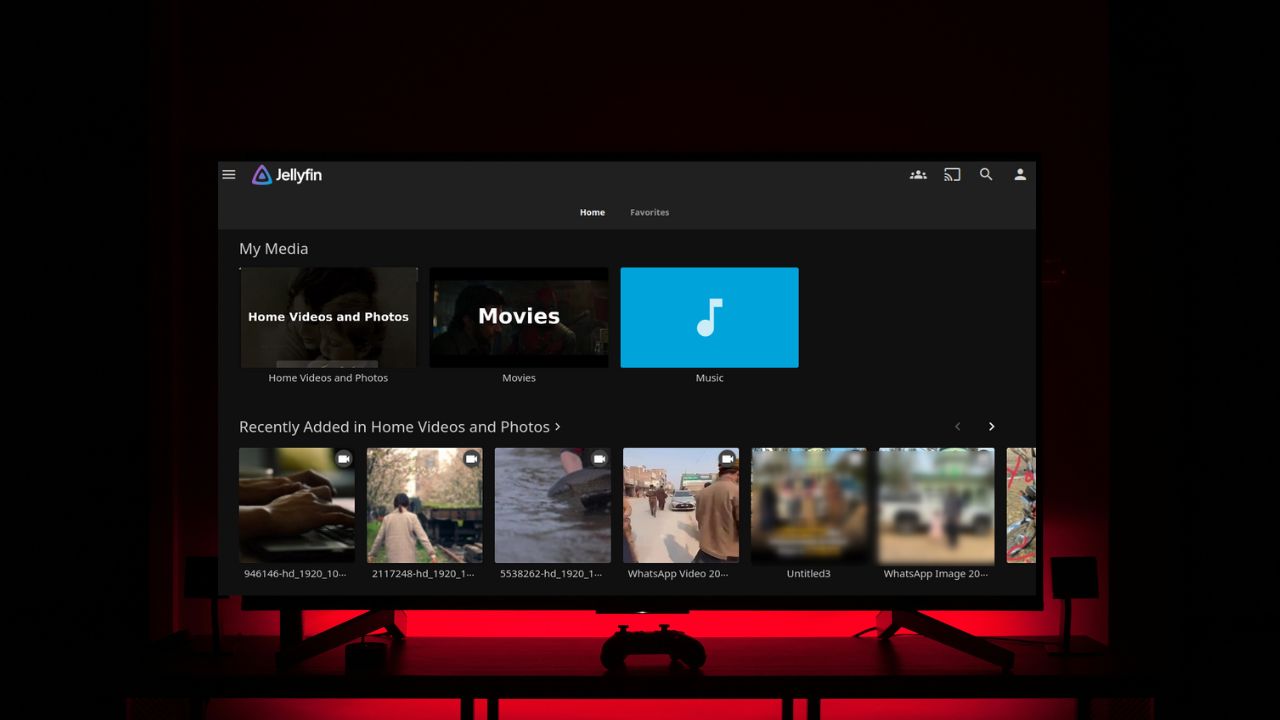
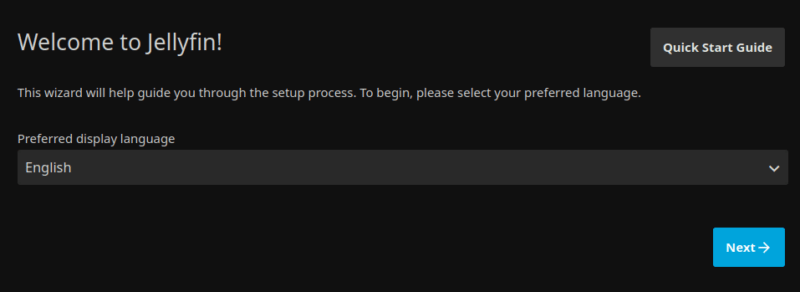
Once Jellyfin is running, access it by heading to your server’s IP address on port 8096 in your web browser (e.g., http://your-server-ip:8096). Start the Jellyfin setup wizard by selecting the display language.
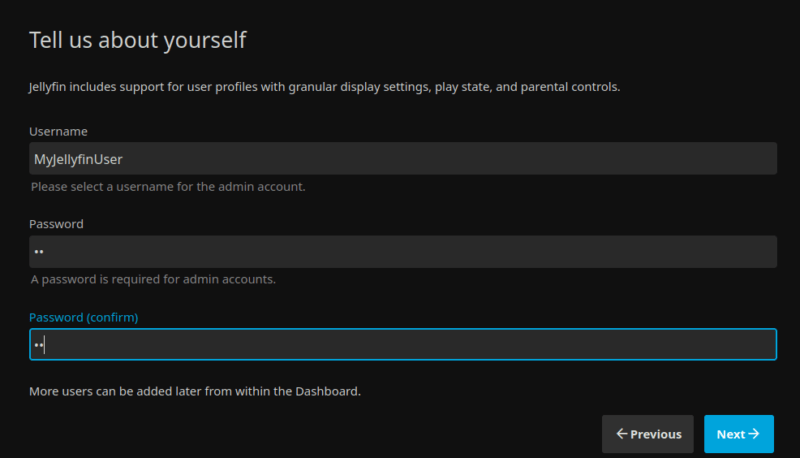
First, create an admin user profile with a password. You can add additional users later from the Jellyfin dashboard.
Next, set up your media library by clicking the Add Media Library option.
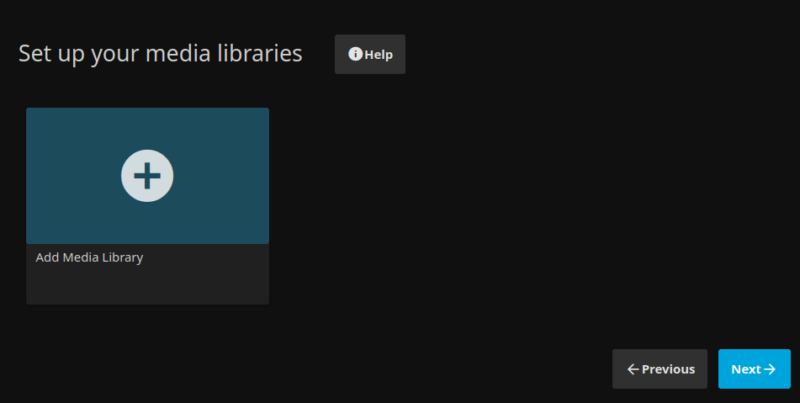
Select the content type, such as Movies, TV Shows, or others, and specify the display name for the content. After that, add the folders you created earlier for your media collection. Jellyfin will then scan your media folders and begin pulling metadata. This process might take a while, based on the size of your collection.
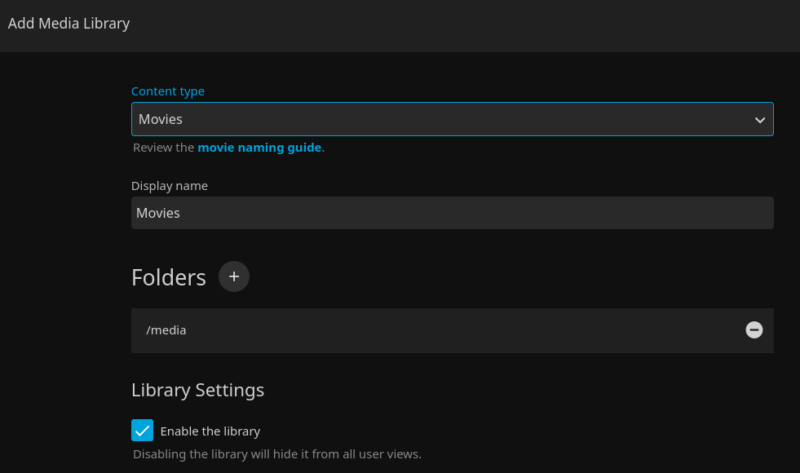
If you haven’t added media yet, you can proceed with an empty folder and copy your media files later. After adding media, go back to Jellyfin, select the movie, and click Refresh Metadata. This will scan your media folders and fetch metadata.
Proceed with the setup wizard to finalize your media server.
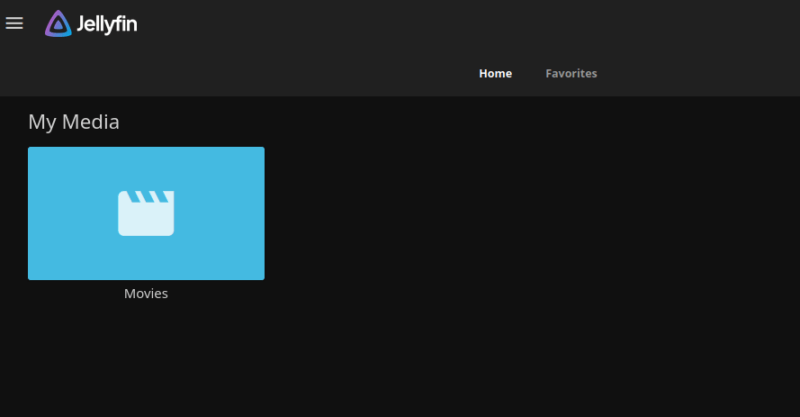
Now that your media collection is set up, you can adjust the settings in the profile settings menu. Additionally, you can add various plugins to Jellyfin to make it better.
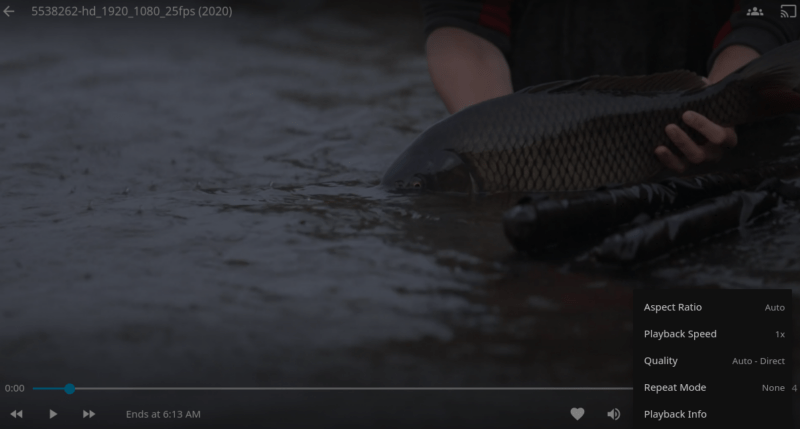
The Jellyfin use a built-in video player that supports various formats and playback features like play/pause controls, fast-forward/rewind, subtitle and audio track selection, and others.
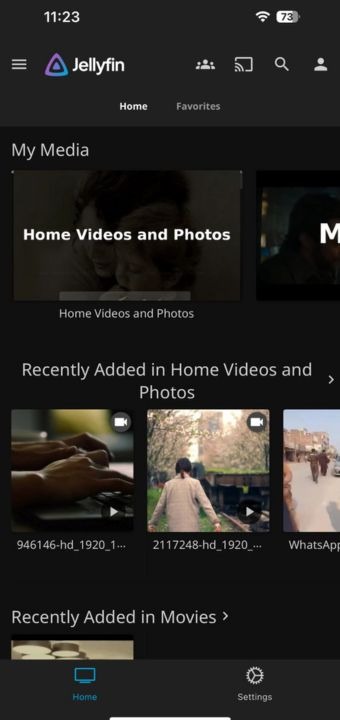
Also, you can access your server on your mobile phone through dedicated Jellyfin Android and iOS apps. Simply launch the app and enter the URL of your Jellyfin server. Once connected, input your Jellyfin username and password to access your media library.
Furthermore, Jellyfin is also available on Android TV, Fire TV, Roku, and some LG/Samsung smart TVs (via web apps or community ports).
Final Thoughts
Jellyfin is a flexible, open-source media server that’s easy to install. It offers great default settings and advanced features like live TV, DVR, hardware transcoding, and multi-user support. Since it’s open-source, you retain full control over your media without subscription fees – making it ideal for both high-end systems and simple home setups.
Image credit: Thibault Penin via Unsplash and Jellyfin. All alterations and screenshots by Haroon Javed.
Be the first to comment! Get the discussion going.