Vaultwarden is an open-source, self-hosted password manager that lets you create and save your own passwords, and reclaim ownership of your digital keys while providing enterprise-grade security features typically found in premium services. It is a server implementation of the Bitwarden Client API, and is compatible with official Bitwarden clients.
With Vaultwarden, you can transform your homelab server into a private credential vault compatible with Bitwarden’s popular apps, and it is perfect for self-hosted deployment where running the official resource-heavy service might not be ideal.
Features
- Access your vault from anywhere via a web browser or Bitwarden app.
- Enjoy compatibility with browser extensions for easy password autofill and capture.
- Share passwords securely with family or team members.
- Use the built-in authenticator for 2FA codes.
- Benefit from a lightweight, resource-friendly design that’s perfect for running on your homelab server.
- Import passwords from other password managers.
- Generate secure passwords with memorable phrase options.
- Manage users and monitor your server with an admin dashboard.
- Enjoy full compatibility with Bitwarden’s apps and browser extensions.
Installation
First, make sure you have Docker installed on your homelab server.
Create a folder for Vaultwarden:
mkdir vaultwarden
cd vaultwarden
Create the docker-compose.yml file using a text editor such as nano or vim:
nano docker-compose.ymlPaste the following content:
services:
  vaultwarden:
    container_name: vaultwarden
    image: vaultwarden/server:latest
    restart: unless-stopped
    volumes:
      - ./data:/data
    ports:
      - "82:80"
    environment:
      WEBSOCKET_ENABLED: "true"
      # ADMIN_TOKEN: YourStrongAdminTokenHere
      # SIGNUPS_ALLOWED: "false"
Here, you need to modify the ./data:/data directory path to match your actual directory. This directory stores your password data, ensuring that your information remains safe even if you update or recreate the container.
Furthermore, if you want to access the admin panel, simply uncomment the ADMIN_TOKEN environment variable and add your admin token. Once you have created your first account, you can prevent others from registering by using the SIGNUPS_ALLOWED variable.
Finally, start the services defined in your docker-compose.yml file by running:
docker-compose up -d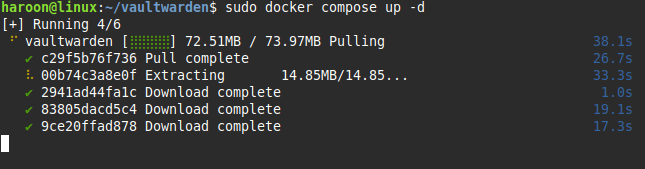
To access Vaultwarden, open your web browser and navigate to your server’s local IP address (in this case, http://localhost:82). The Vaultwarden web interface should then appear.
However, you can only access this using localhost because Vaultwarden’s web vault relies on the Web Crypto API for encrypting and decrypting your vault data in the browser. If the page isn’t served over HTTPS (or from localhost), the browser disables “crypto.subtle,” which causes the vault’s JavaScript to fail (resulting in an indefinite loading animation).
Note: If you’re testing on the same machine, accessing the vault via localhost (http://localhost) is often treated as a secure context by many browsers, even over HTTP. However, this is not a solution for accessing it from other devices, such as the Bitwarden mobile application.
Configure proxy server
To securely access your vault from other devices, you need to use a reverse proxy (such as Nginx, Traefik, or Caddy) with a valid SSL certificate (for example, from Let’s Encrypt) to make it accessible via an HTTPS URL.
For my server, I have already set up Nginx Proxy Manager with a free domain and SSL for the local network using the DuckDNS. If you want to set up Nginx Proxy Manager with free domain and SSL, you can refer to this helpful guide.
Once the setup is complete, add a new reverse proxy for the Vaultwarden:
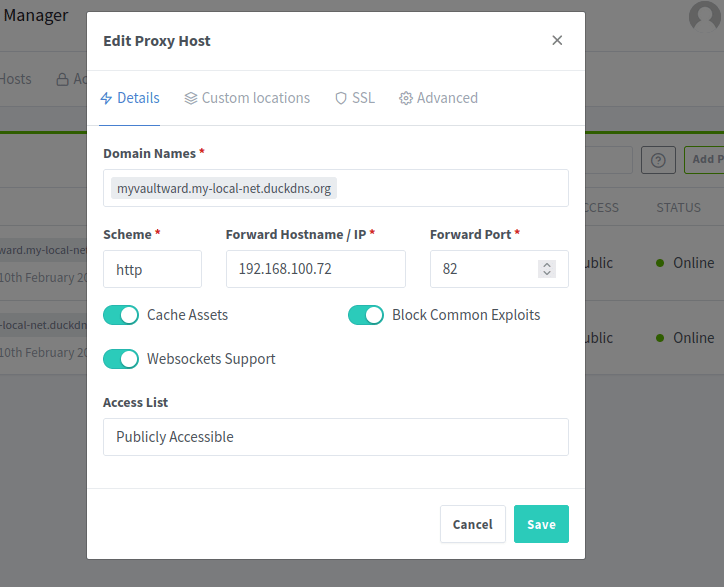
After creating the reverse proxy, you can use the domain name to access vaultwarden.
Usage
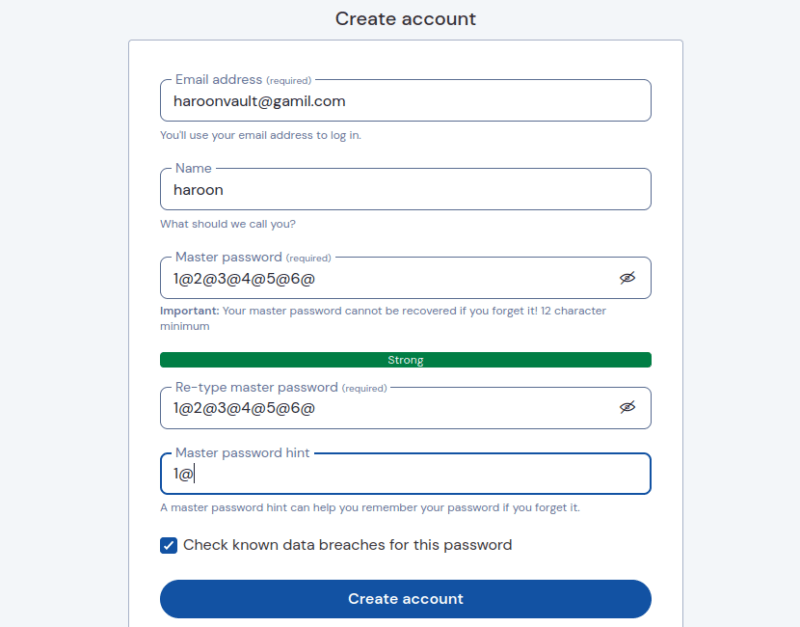
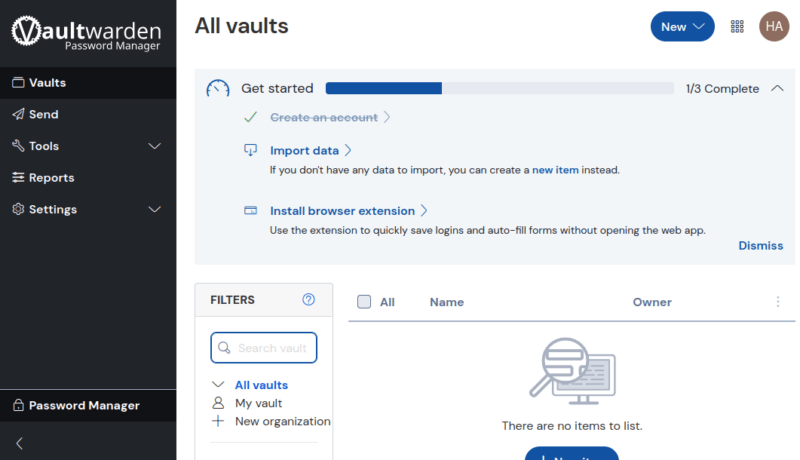
When you first access Vaultwarden, you’re greeted with a clean and intuitive web interface. Since this is a fresh install, sign up for an account by clicking on the Create account option.

Provide your email address and create a strong master password.
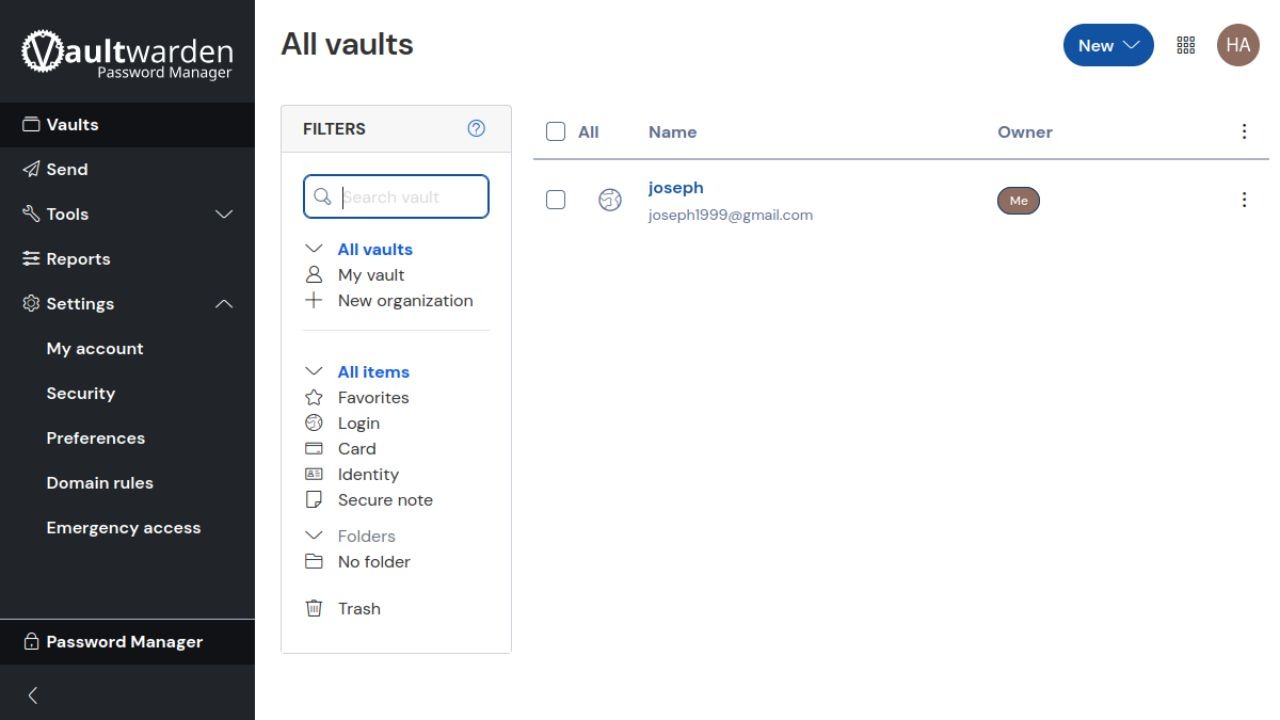
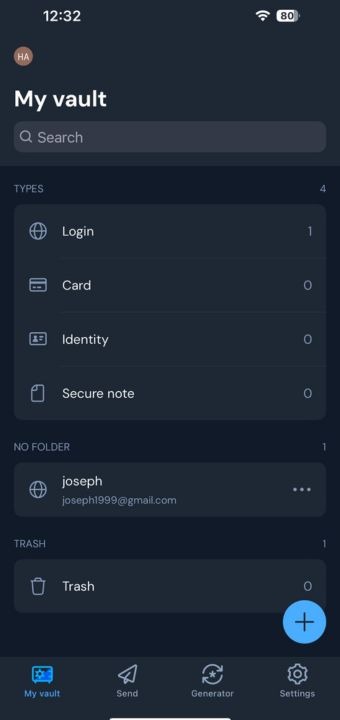
Once logged in, you can begin adding your credentials.
In the vault, all your saved logins, secure notes, and credit card details are stored. You can use the Send feature to share a password or sensitive information with someone securely, or the Organizations feature to share passwords with family members or a small team.
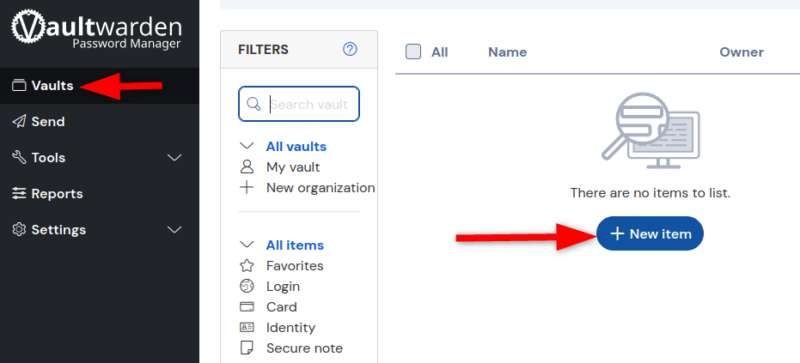
Let’s add your first password to Vaultwarden. In the web vault, click the New Item option.
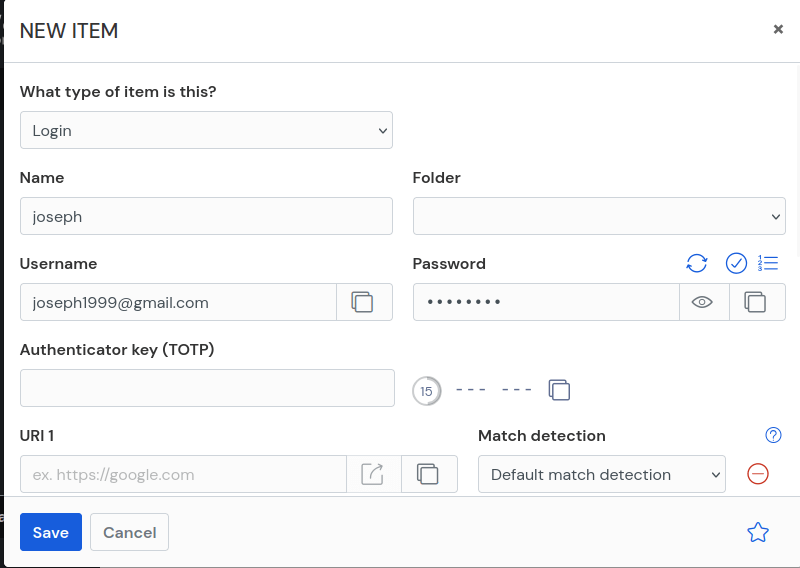
Then, choose Login as the item type and fill in the details – such as name, username, password, and URL. Once you’ve made your changes, click Save.
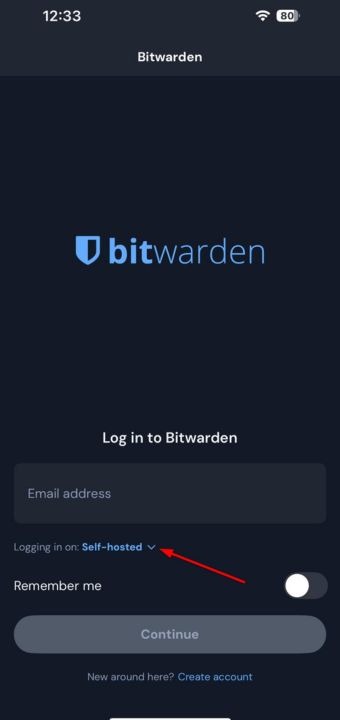
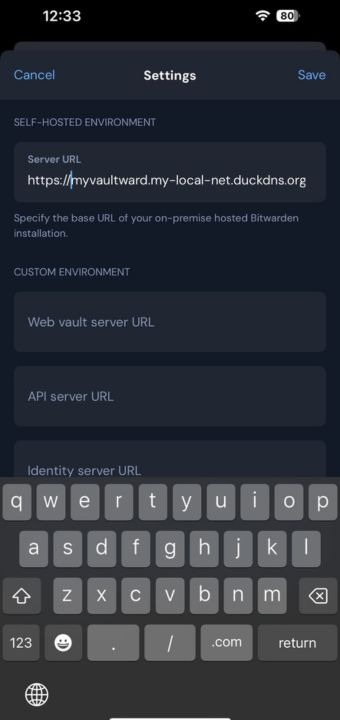
Vaultwarden does not have a dedicated mobile app; instead, you can access your self-hosted data using the official Bitwarden mobile app. Simply download the Bitwarden app and, on the login page, select the Self-Hosted option from the dropdown menu.
Then, enter the domain name you created earlier using Nginx Proxy Manager and click Save.
Finally, log in with your email and password to see your self-hosted password manager:
The Bitwarden app offers features such as autofill in apps and biometric unlock for added convenience.
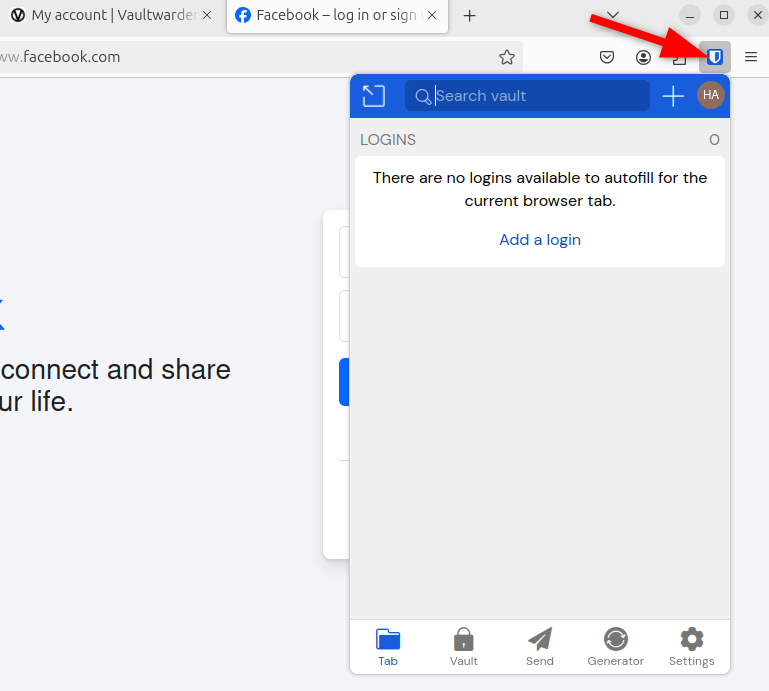
To make accessing your stored credentials easier while browsing, install the Bitwarden browser extensions. Now, whenever you visit a site that requires login information, click the Bitwarden icon near the URL bar and select the appropriate entry from the dropdown list to automatically fill in your forms – no manual input required.
Vaultwarden is also packed with additional functionalities like secure notes, credit cards and identities, and import/export capabilities.
Final Thoughts
Vaultwarden is a lightweight, self-hosted password manager that offers seamless cross-device sync, secure sharing, and full compatibility with Bitwarden clients. Its Docker-friendly setup and low resource demands make it perfect for homelab beginners.
Unlike cloud-based alternatives (1Password, LastPass) or manual tools (KeePass), Vaultwarden lets you retain complete ownership of your data without sacrificing modern convenience. It also pairs well with other privacy-focused tools like Nextcloud for file storage, Jellyfin for media streaming, or Pi-hole for ad blocking, making it a key component in any self-hosted homelab server.
Be the first to comment! Get the discussion going.