If you are new to homelab and are looking for a good Linux distribution to get started, Debian is one that you should look into. While it is not as new and shiny as other Linux distributions, it has been around for a long time and is trusted by many people. It is so good that a lot of distributions are using it as a base model. Below, we will show you how you can install Debian on your homelab.
Why Debian Is Great For Your Homelab
One of the selling points of Debian is that it’s designed it to be as stable as possible. It doesn’t receive a ton of package updates and only focuses on backporting security patches. This results in a more consistent OS that doesn’t have a lot of breaking changes, making it perfect for a homelab.
Another selling point of Debian is that it’s the upstream for popular beginner-focused distros such as Ubuntu and Linux Mint. This means that you don’t need to learn a new set of tools just to get started with the system. Personally, this is why I picked up Debian in the first place.
Lastly, Debian’s package format, deb, is widely used for distributing programs today. Because of that, Debian enjoys a wealth of third-party package support even if it doesn’t come directly from its repositories. This is a valuable asset when you’re dealing with niche apps that’s not available on Docker and apt.
Which Debian Release is Right For You
Being a long-term support Linux distro, Debian is no stranger to having its stable and bleeding-edge versions available for its users simultaneously. While both are suitable for a basic home PC setup, each has its pros and cons.
Debian Stable (Debian 12, bookworm) is the current production-ready version of the OS. It guarantees five years of security updates, as well as packages that are frozen on a known good version. This makes it ideal for users who want a “no-fuss” OS for their PC that works from update to update.
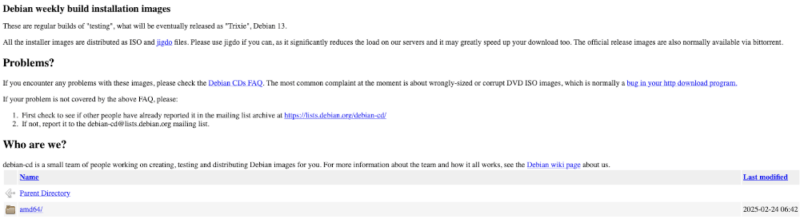
Meanwhile, Debian Testing (aka Trixie) is the upcoming branch that contains the latest updates for the distro. Unlike stable, Testing usually receives new feature updates at the cost of fewer security checks and bug fixes. As such, Testing can be a good option if you’re already well-versed in Linux and you want the familiar Debian tooling with a more frequent update schedule.
We recommend using Debian stable for your homelab since it is more secure and doesn’t break your system easily.
Preparing the Debian Linux Installer
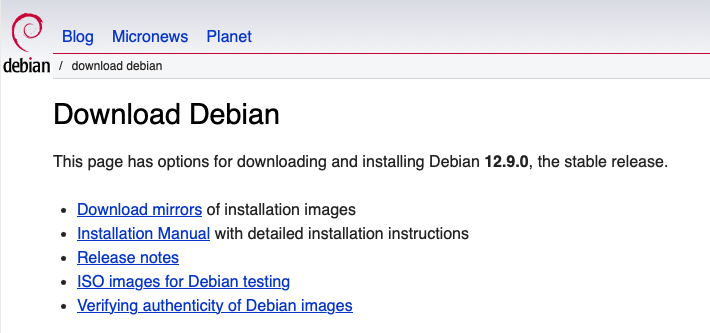
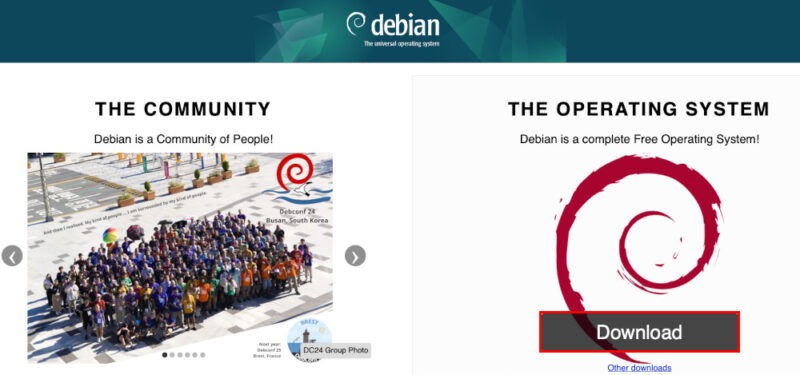
The first step in installing Debian is to download its ISO file from the project’s website.
Next, download an image writer for your current system. For this guide, I’m using Balena Etcher, which is a cross-platform app for creating bootable disks and SD cards. You also need a USB drive that has at least 2GB of space.
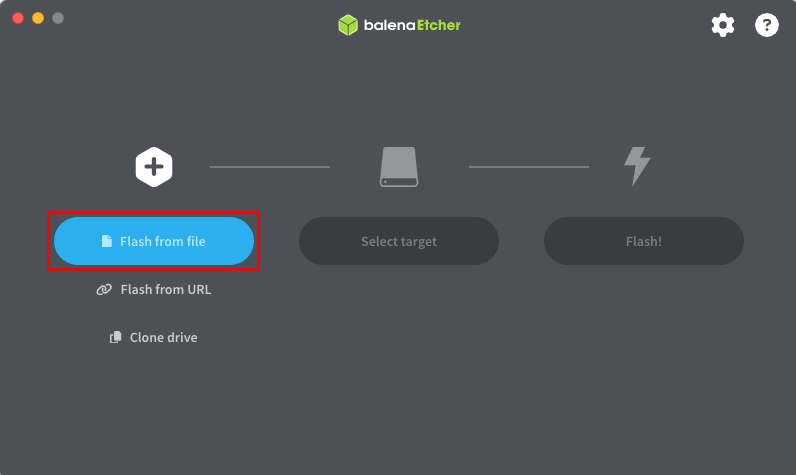
On another PC, open Balena Etcher, then click Flash from file.
Navigate to your Downloads directory, then select the ISO file for Debian.
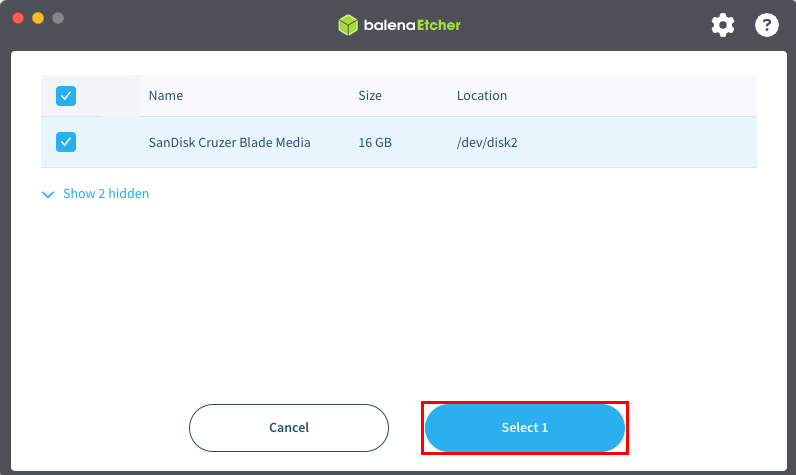
Click Select target, then pick the USB device that you want to write the image to.
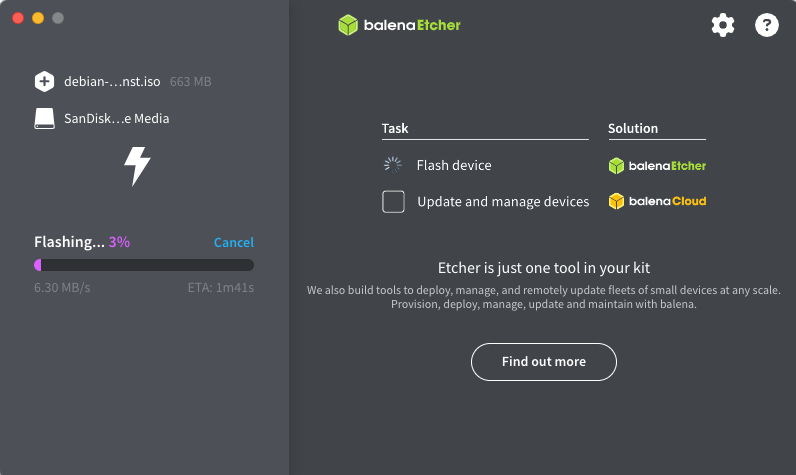
Click Flash! to start the writing process. This should take about 3 to 5 minutes, depending on your computer’s USB interface speed.
Installing Debian on your homelab
With your bootable USB stick ready to go, you can now install Debian on your homelab. Start by plugging the USB stick into your homelab, then boot it up.
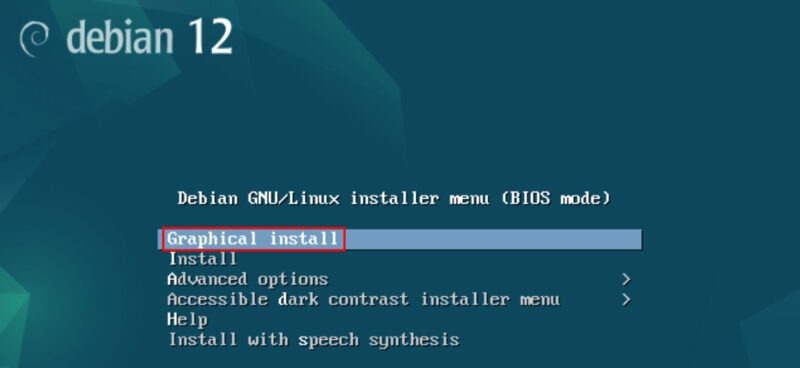
Select Graphical install on Debian’s startup screen.
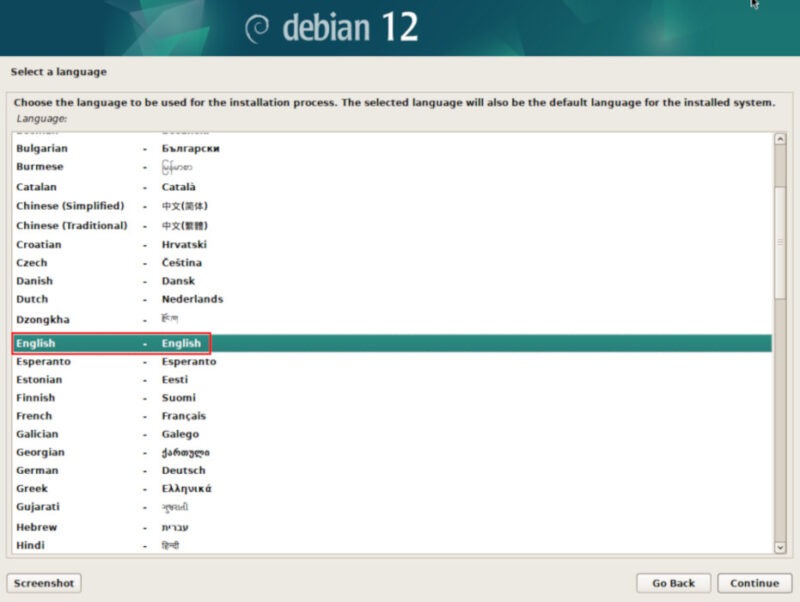
Pick the language that you want for your system, then click Continue.
Select the Region where your system is currently located, then click Continue.
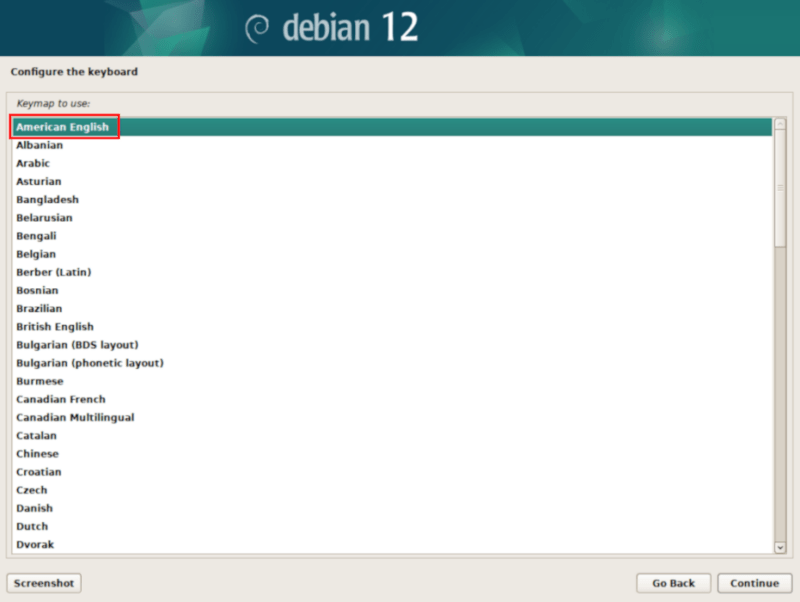
Pick the keyboard layout that you’re using for your homelab, then click Continue. Unless you’re using a specific keyboard for your language, it’s safe to select American English here.
Provide a hostname for your Debian homelab machine, then click Continue. I named mine as “fossery-debian-pc.”
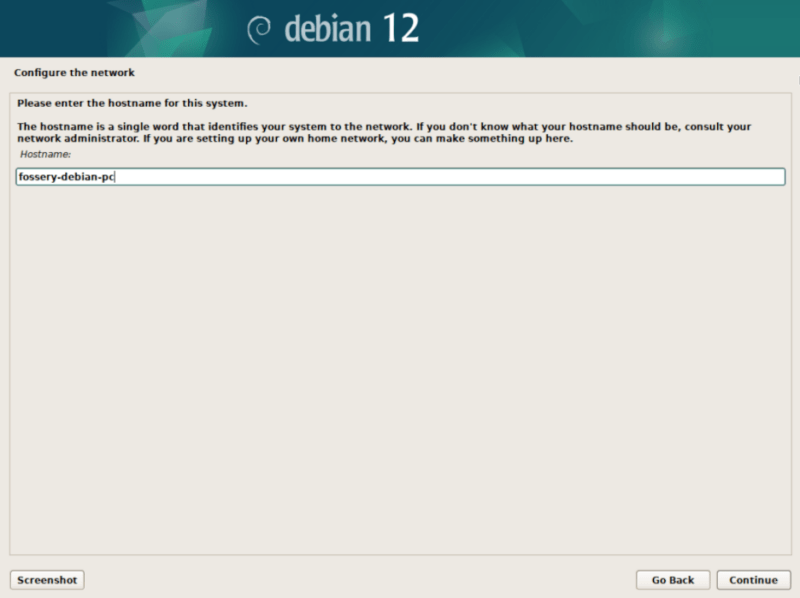
Leave the “Domain name” textbox blank, then click Continue.
Setting Up the First System User
Once done, the Debian installer will ask for the credentials of your root user. For this, you can either provide a password or skip it to disable root and create a “sudo-enabled” user account instead.
It’s generally considered good practice to completely disable the root user since it makes your system prone to brute force attacks. As such, this guide will focus on installing Debian with a “sudo-enabled” user account instead of root.
Leave the root password fields blank, then click Continue.
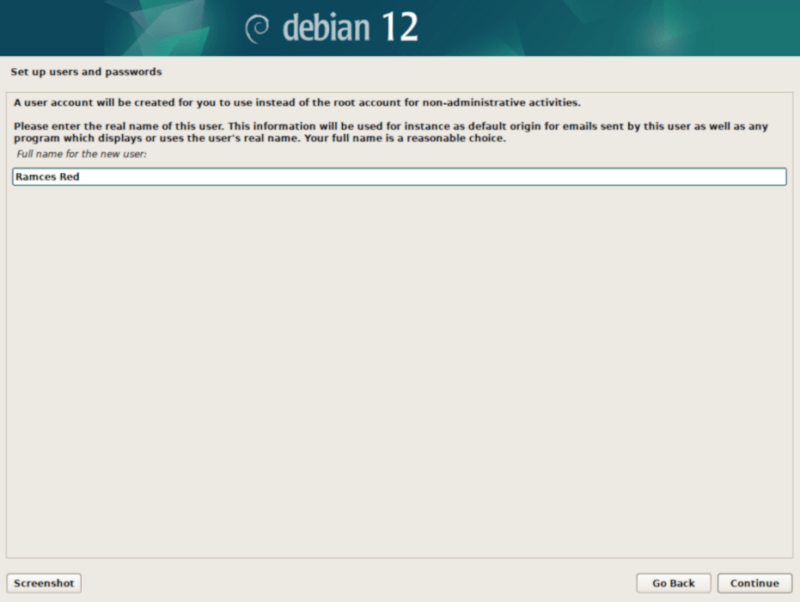
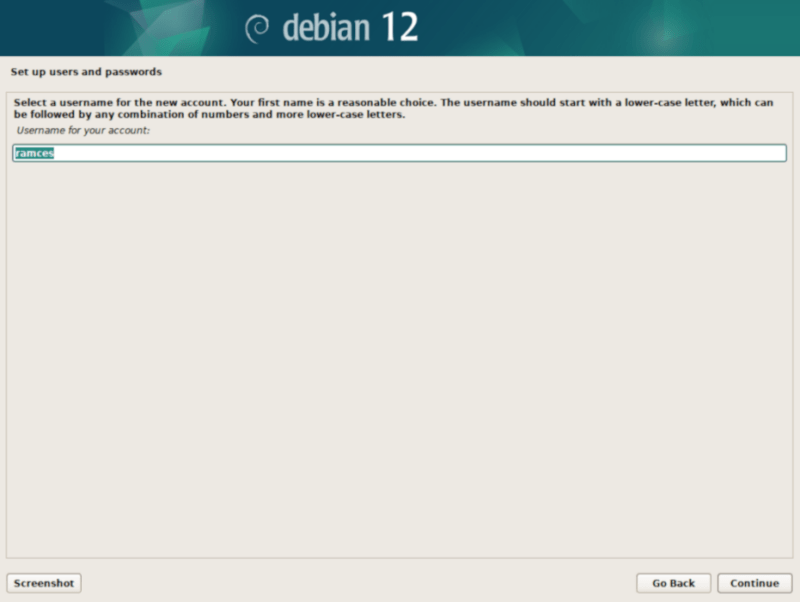
Provide the name of your PC user. Keep in mind that this is a display name rather than the actual username of your account.
Provide the username that you want to use for your PC account.
Type a relatively secure password for your account, then click Continue.
Partitioning the Disk
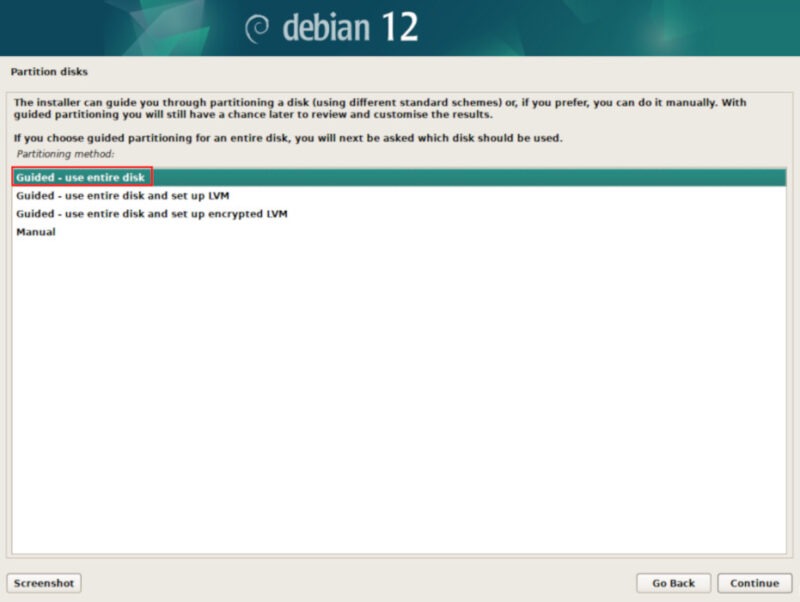
By default, the Debian installer provides three presets for partitioning the disk. It can either create a traditional filesystem, use LVM, or create an encrypted LVM layout.
The easiest way is to use the traditional filesystem. Select Guided – use entire disk, then click Continue.
Select the disk that you want to use for your system.
Pick the All files in one partition option, then click Continue.
Click Finish partitioning and write changes to disk to finalize your disk partition and filesystem setup, then click Continue.

Configuring Packages and Bootloader
Scroll through the list of countries and select the one closest to you. This will determine the primary mirror Debian uses to fetch packages from. For me, I chose “Hong Kong” since it’s the closest country to where my PC is.

Select “deb.debian.org” as the mirror address, then click Continue.
After that, the installer will ask if you want to use a web proxy. In most cases, you can leave this field blank.
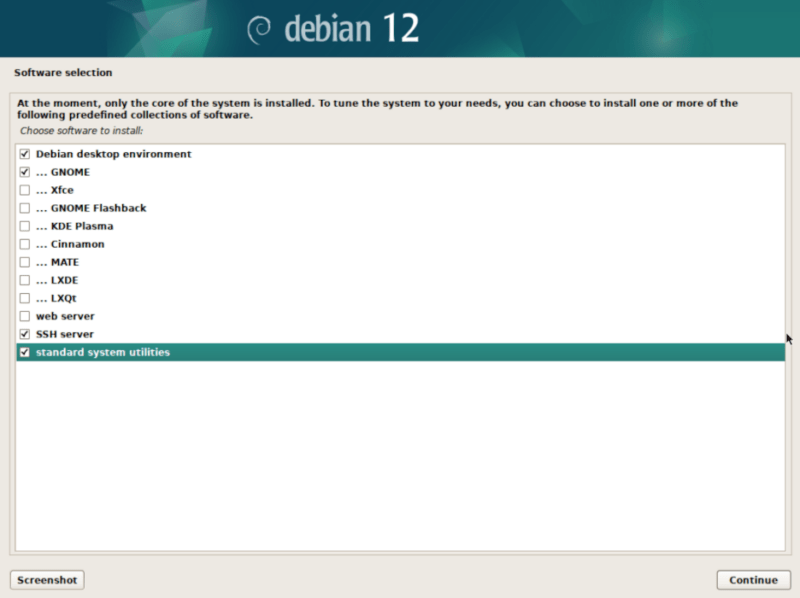
Pick the packages that you want to include to your system by default. I selected the GNOME Desktop Environment along with the SSH server and standard system utilities checkboxes. You can select your preferred desktop environment, though we would recommend either GNOME or KDE, as they are the more popular one.
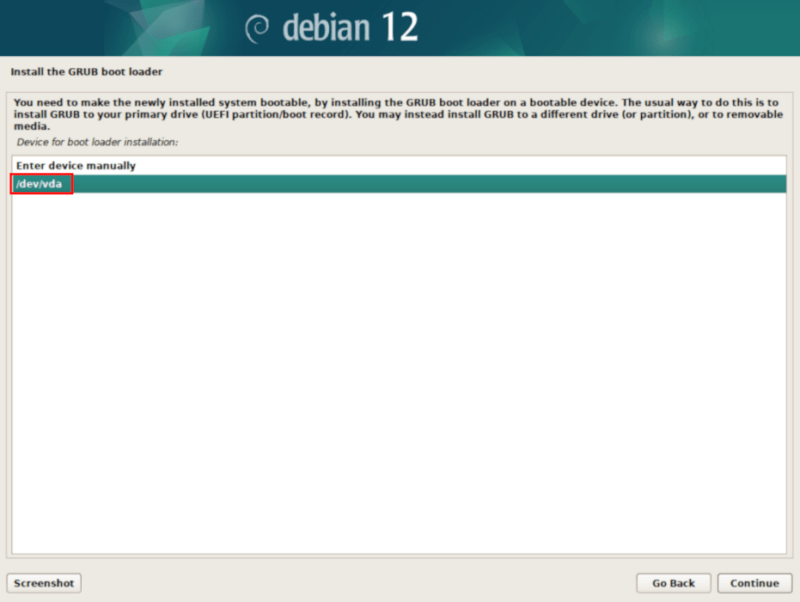
Once the installer is done fetching the packages, it will ask if you want to install GRUB on your primary drive. Select the Yes radio button, then click Continue.
Pick the device path of your primary drive.
Lastly, click Continue to finish the installation process and reboot your machine.
Post-Installation
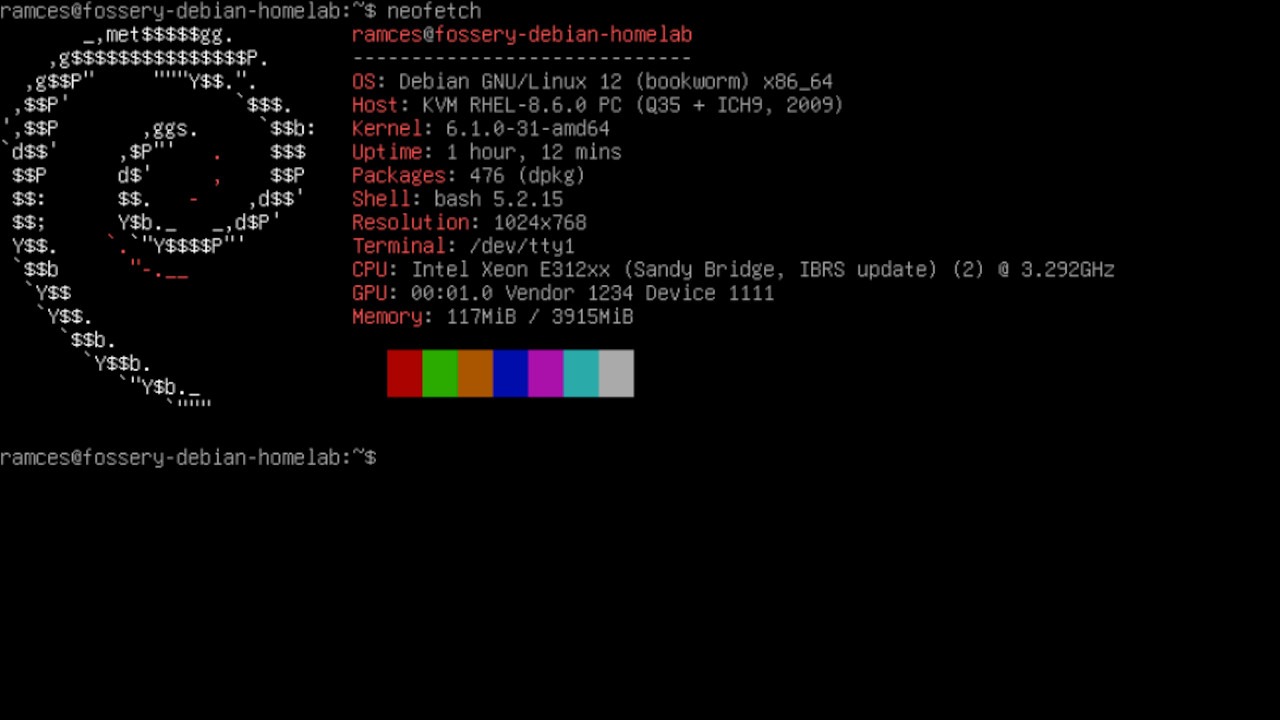
At this point, you now have a Debian system running on your homelab. That said, there are still a handful of things that you need to do to ensure that it’s great for daily use.
Begin by logging in to your user account.
Open a new terminal session and install some auxiliary tools for system monitoring, management, and maintenance:
<span style="color: #c20cb9; font-weight: bold;">sudo</span> apt <span style="color: #c20cb9; font-weight: bold;">install</span> <span style="color: #c20cb9; font-weight: bold;">htop</span> <span style="color: #c20cb9; font-weight: bold;">nmap</span> tmux ufw software-properties-commonEnable both the “contrib” and “non-free” repositories for your Debian install:
<span style="color: #c20cb9; font-weight: bold;">sudo</span> apt-add-repository contrib <span style="color: #660033;">-y</span> <span style="color: #000000; font-weight: bold;">&&</span> <span style="color: #c20cb9; font-weight: bold;">sudo</span> apt-add-repository non-free <span style="color: #660033;">-y</span>
Refresh your package listings by doing a full system upgrade:
<span style="color: #c20cb9; font-weight: bold;">sudo</span> apt update <span style="color: #000000; font-weight: bold;">&&</span> <span style="color: #c20cb9; font-weight: bold;">sudo</span> apt upgrade <span style="color: #660033;">-y</span>Securing Your Debian PC’s SSH Server
Open the config file for your PC’s SSH daemon using your favorite text editor:
<span style="color: #c20cb9; font-weight: bold;">sudo</span> <span style="color: #c20cb9; font-weight: bold;">nano</span> <span style="color: #000000; font-weight: bold;">/</span>etc<span style="color: #000000; font-weight: bold;">/</span>ssh<span style="color: #000000; font-weight: bold;">/</span>sshd_configPress Ctrl + W, type “PermitRootLogin,” then press Enter.
Remove the hash sign (#) in front of the variable, then replace its value from “prohibit-password” to “no.” This will prevent anyone from spamming your server with unresolvable root SSH login requests.
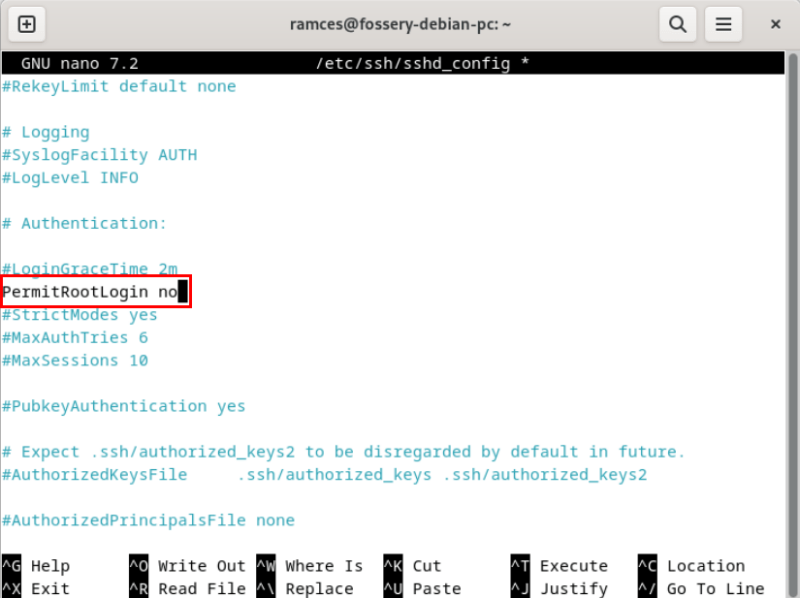
Look for the “Port” variable and change it from “22” to any value above “1024.”

Apply your new settings by restarting your SSH system service:
<span style="color: #c20cb9; font-weight: bold;">sudo</span> systemctl restart ssh.serviceNote: changing the default SSH port would require you to use the -P flag followed by your custom port number when logging in.
To top it off, you can also enable public-key authentication through SSH keys. This further secures your homelab and allows you to create passwordless login.
Enabling the Firewall and Restricting Access
Another tweak that you can do to protect your homelab is to configure and enable a system’s firewall. This is a simple tool that filters and blocks unnecessary traffic to your machine.
Start by checking whether you have the UFW binary properly installed on your system:
<span style="color: #c20cb9; font-weight: bold;">sudo</span> ufw statusEnable the incoming SSH port for your homelab:
<span style="color: #c20cb9; font-weight: bold;">sudo</span> ufw allow <span style="color: #c20cb9; font-weight: bold;">ssh</span>
Note: if you’re using a custom port for your SSH server, you need to allow that instead of the regular port 22.
Enable the firewall logging feature in UFW. This will give you an insight on the services and ports that you need to allow for your system:
<span style="color: #c20cb9; font-weight: bold;">sudo</span> ufw logging onStart the UFW firewall and restart your system to apply your new settings:
<span style="color: #c20cb9; font-weight: bold;">sudo</span> ufw <span style="color: #7a0874; font-weight: bold;">enable</span>Confirm that your firewall is working properly by checking its current status.
<span style="color: #c20cb9; font-weight: bold;">sudo</span> ufw status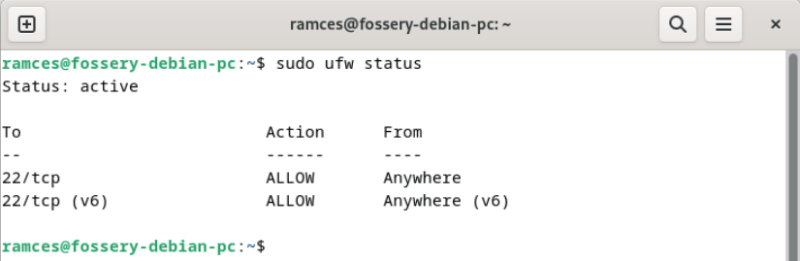
Wrapping Up
Now that you have a working and secured Debian homelab, you can start to install Docker, which will allow you to easily install other self-hosted apps. If you need to access your homelab remotely, you can either install Cloudflare Tunnel or Tailscale on your machines.
Be the first to comment! Get the discussion going.