Proxmox is an ultra-lightweight operating system (OS) based on Debian Linux. Unlike other systems, it focuses on providing a stellar virtualization experience through KVM and LXC. In this article, we will show you how to install Proxmox in a homelab system and convert it to a hypervisor powerhouse.
Preparing the Proxmox Installer
The first step in installing Proxmox is to obtain the ISO file from the developer’s website.
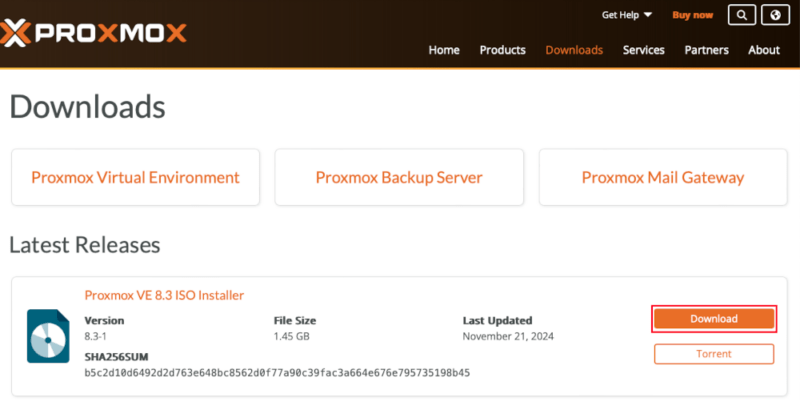
Next, use an image writer to create a bootable flash disk with the Proxmox ISO. In my case, I’m going to use BalenaEtcher on a separate machine to create my USB installer.
Click Flash from file, then select the Proxmox ISO from your system’s file browser.
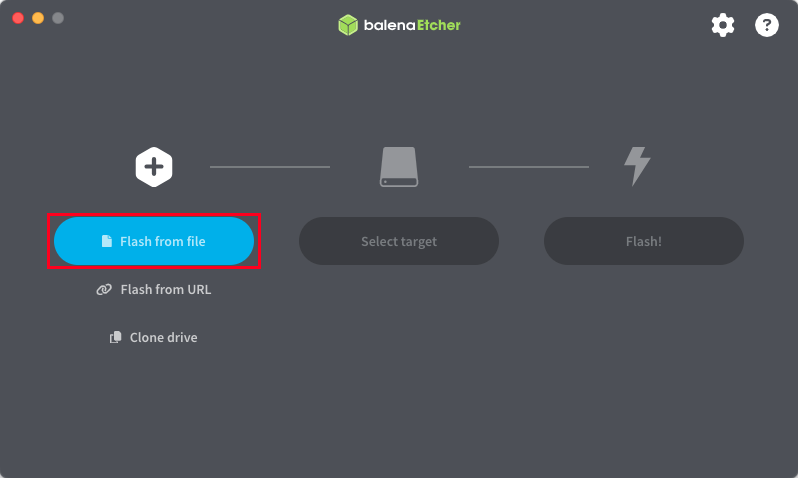
Click Select target and pick the flash disk that you want to write the image to. At the moment, a disk with around 4 GB of storage or more should be enough for a Proxmox installer.

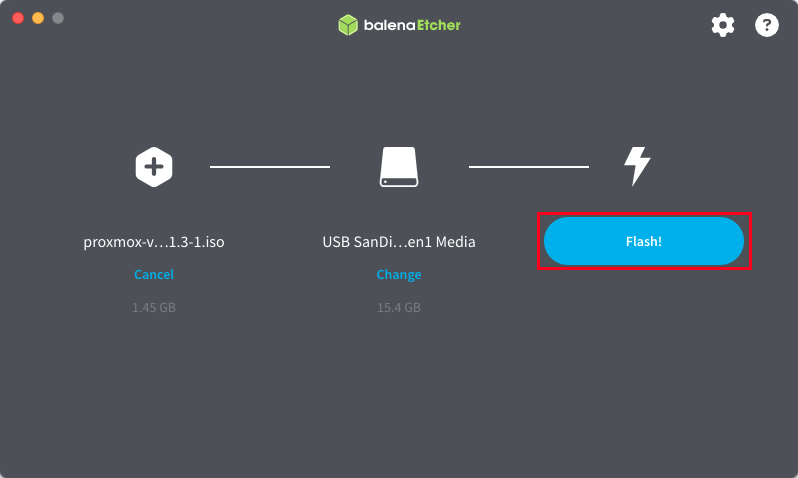
Click Flash! to start the ISO writing process. This could take between 3 to 5 minutes depending on the speed of your machine’s USB interface.
Installing Proxmox
Once done, you can now install Proxmox into your homelab server. Begin by making sure that your machine is completely turned off.
Plug the Proxmox flash drive into one of your server’s USB port, then load the system’s BIOS. Most motherboards allow you to access the BIOS by pressing either F12 or Delete as soon as you turn on the machine.
Select your Proxmox flash drive from the server’s BIOS and boot into it.
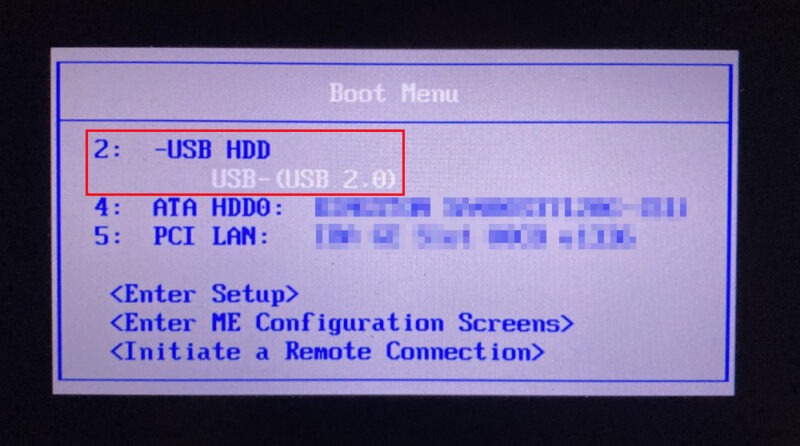
Note: some systems don’t have a Quick Boot option for removable disks. You can fix this by putting your Proxmox flash drive at the top of your BIOS’ boot order.
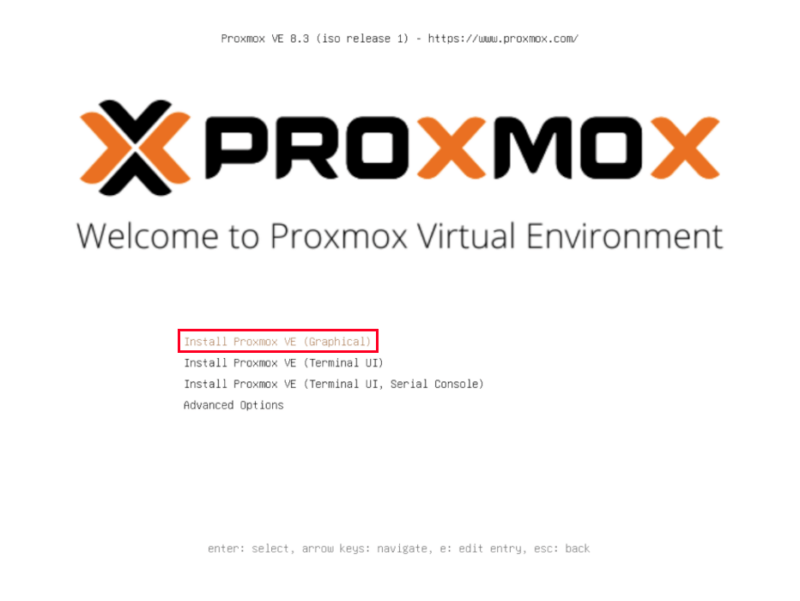
Select Install Proxmox VE (Graphical), then press Enter.
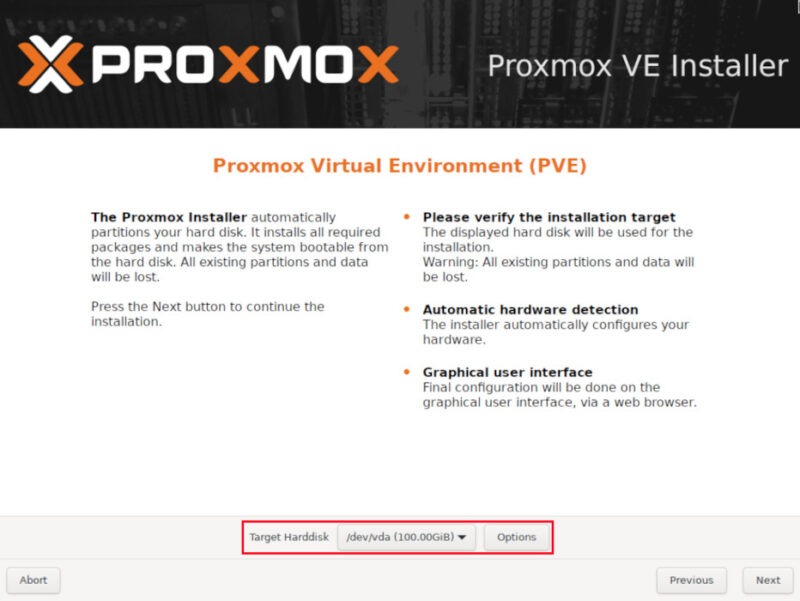
Pick the disk where you want to install Proxmox from the Target Harddisk drop down box, then click Next.
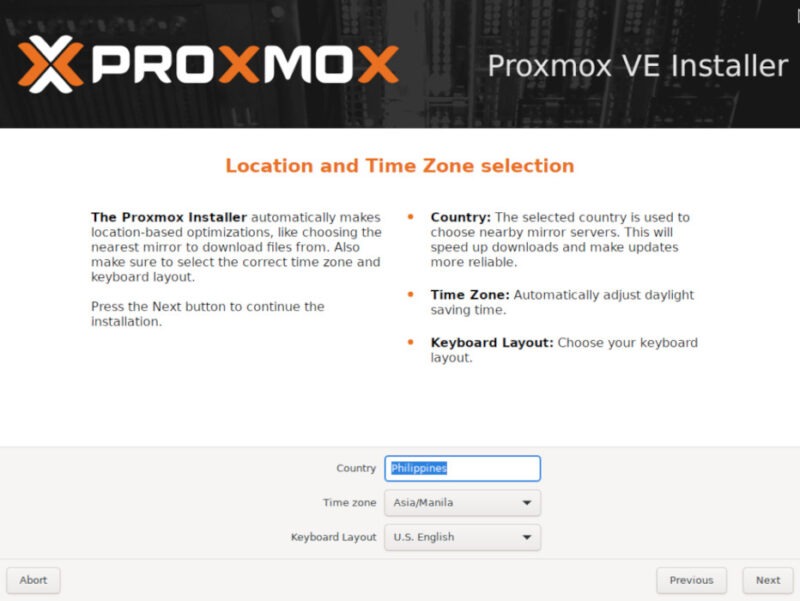
Select the Timezone and Keyboard Layout for your Proxmox server, then click Next. If your machine is connected to the internet, the installer will fill these with values based on your IP address.
Provide a sufficiently random password for your Proxmox system, then type a valid Email address on the Email textbox.
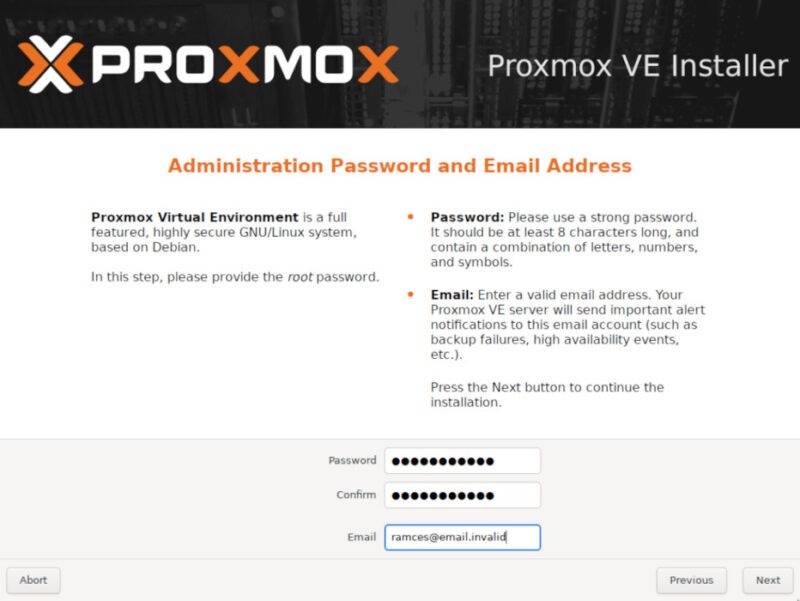
Note: the password will serve as the root user’s password for your Proxmox system.
Double check that all the values are correct, then click Next.
Click the Management Interface drop down box, then select your homelab’s primary network interface. By default, the installer will select the currently active network interface.
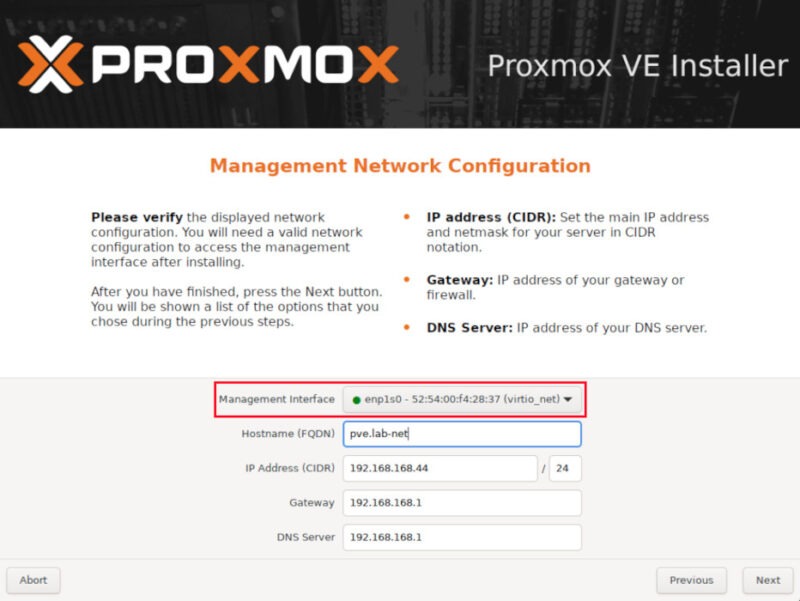
Provide a hostname for your Proxmox system, then click Next.
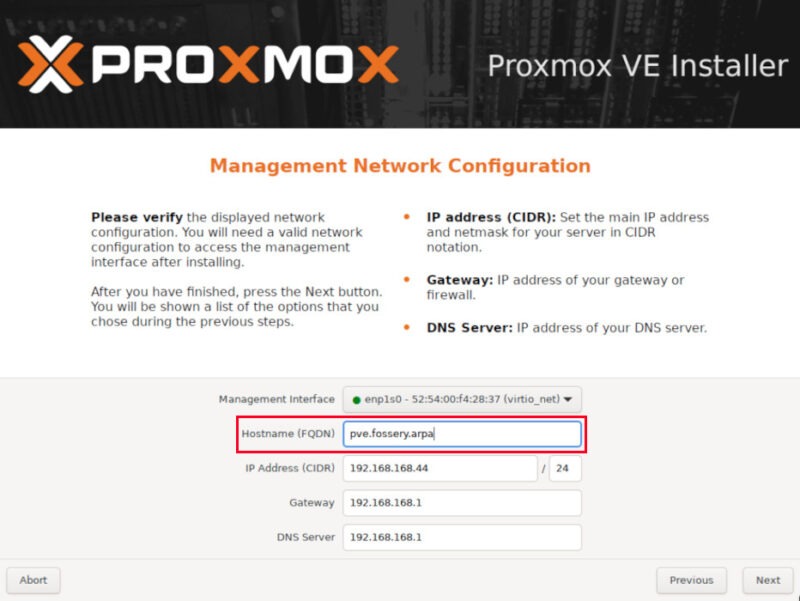
Note: Proxmox requires an FQDN for its hostname. If you’re only running it on a local network, you can use “.arpa” for the homelab’s Top-Level Domain.
Confirm that the install details for your homelab are correct, then click Install to start the installation process. Once done, it will automatically restart your system and boot into Proxmox.
Post-Installation
At this point, you now have a Proxmox system running on your network. To access it, open a web browser on your client machine, then navigate to your homelab’s IP address followed by “:8006.”

Provide the credentials of your Proxmox system’s root user, then click Login.
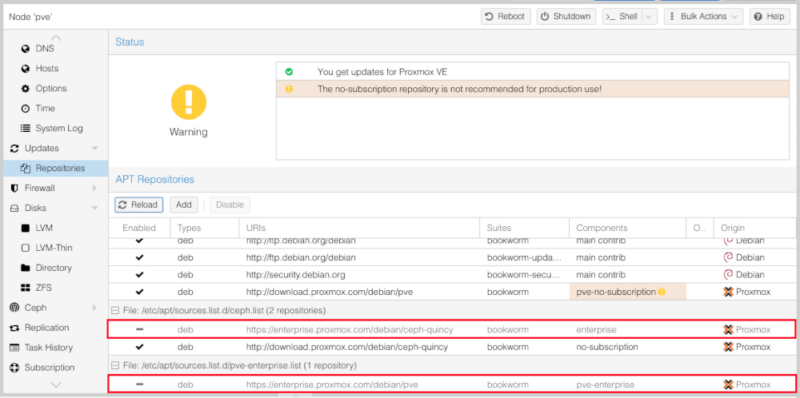
Select pve on the left sidebar, then go to Updates -> Repositories.
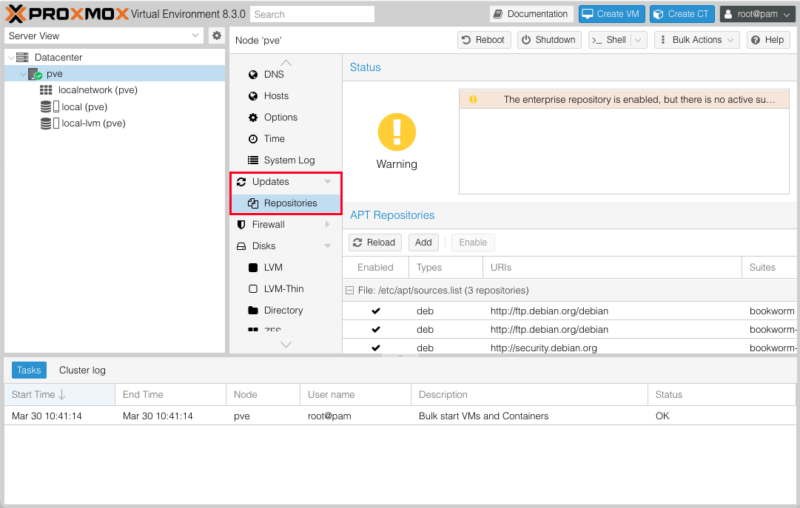
Click Add, then select “No-Subscription” from the Repository drop down box.
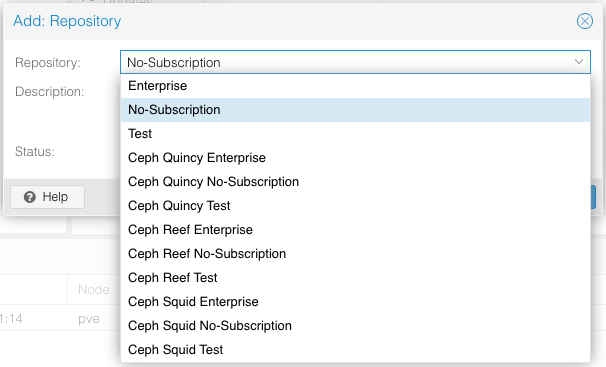
Add a second repository, pick “Ceph Quincy No-Subscription” from the drop-down box, then click Add to finalize it.
Lastly, select the Enterprise repo links for Proxmox and Ceph, then click Disable. This will prevent the system from pulling package updates from these repositories.
Adding a New User in Proxmox
Click the Shell button on the dashboard’s upper right corner.
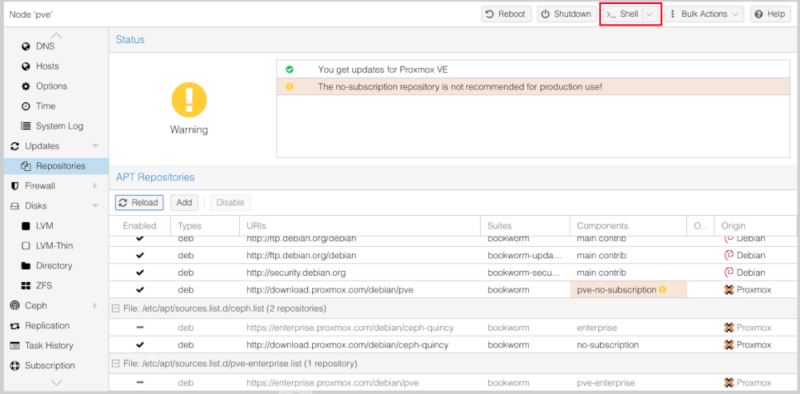
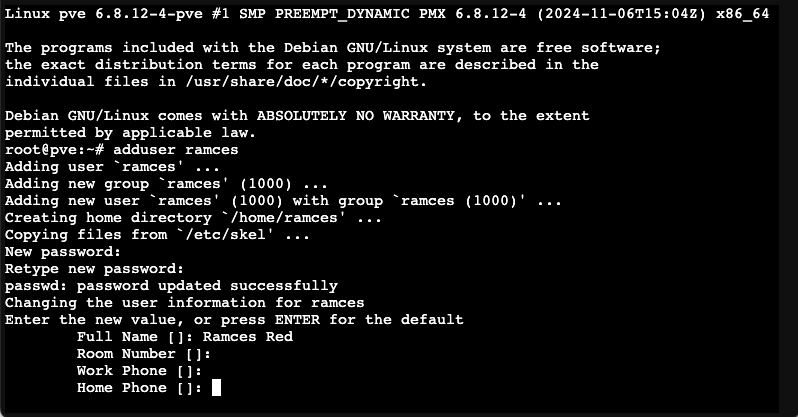
Run the following command to create a new user on your Proxmox system:
adduser ramcesProvide a password for your new Linux system user, then press Enter.
Fill up the account’s personal details, then press Enter to confirm it.
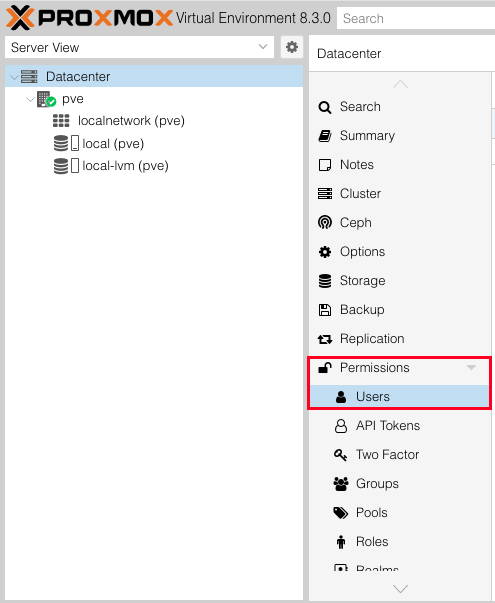
Go back to your Proxmox dashboard, select Datacenter on the left sidebar, then go to Permissions -> Users.
Click Add, then provide the username of the user that you just made in the root shell.
Keep the other fields in their default values, then click Add to create the account for your Proxmox dashboard.
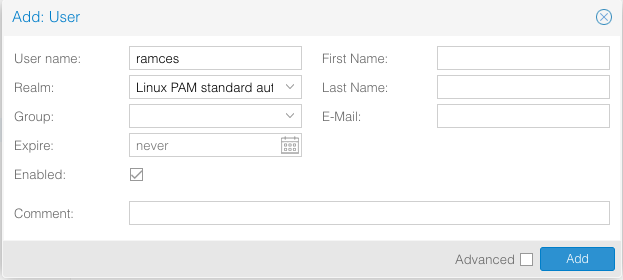
Note: the new user will have no privileges by default. You can change this by going to the Permissions section in the Datacenter dashboard.
Securing the SSH Daemon in Proxmox
While Proxmox is primarily managed through the web browser, there can be instances where you have to connect to the system through a terminal session. As such, it’s good practice to make sure that your system’s SSH daemon is secure and working.
Begin by clicking the Shell button on the dashboard’s upper right corner.
Open the SSH daemon’s config file using your favorite text editor:
<span style="color: #c20cb9; font-weight: bold;">nano</span> <span style="color: #000000; font-weight: bold;">/</span>etc<span style="color: #000000; font-weight: bold;">/</span>ssh<span style="color: #000000; font-weight: bold;">/</span>sshd_configRemove the Pound Sign (#) in front of the “Port” variable and change its value to a number above 1024. For instance, I set my SSH daemon to use port 30070.

Scroll down the file, look for the “PermitRootLogin” variable and change its value from “no” to “yes.”
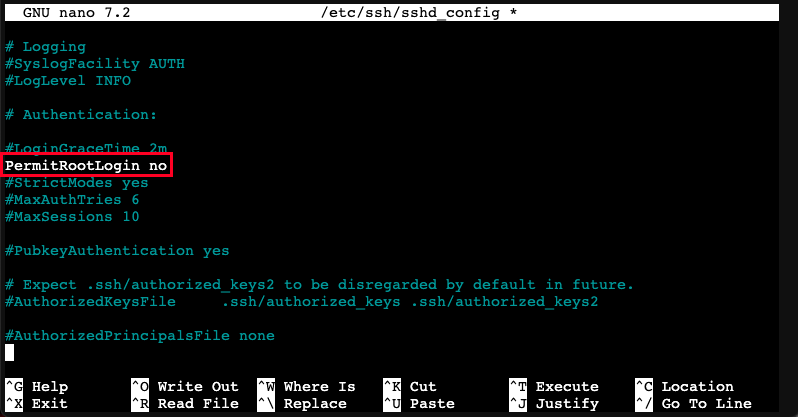
Save your SSH config file, then run the following command to apply your new settings:
systemctl restart sshd.serviceEnabling the Firewall and Limiting Access
Another thing that you can do to secure your Proxmox instance is to install and configure a firewall daemon to your server. This limits and allows you to control the open ports in your system.
Start by installing the UFW daemon from the Proxmox terminal:
apt update <span style="color: #000000; font-weight: bold;">&&</span> apt upgrade <span style="color: #660033;">-y</span><br />apt <span style="color: #c20cb9; font-weight: bold;">install</span> ufwAllow incoming connections to your SSH daemon and your Proxmox server’s dashboard:
ufw allow <span style="color: #c20cb9; font-weight: bold;">ssh</span><br />ufw allow <span style="color: #000000;">8006</span>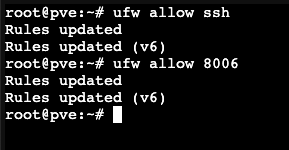
Note: if you’ve changed the default SSH port, make sure to change the ufw command for SSH to your custom port number.
Enable UFW’s logging feature. This allows you to easily diagnose potential emerging issues on the homelab’s firewall:
ufw logging onStart firewall daemon on your system:
ufw <span style="color: #7a0874; font-weight: bold;">enable</span>Confirm that it’s working properly by checking the status of the firewall:
ufw statusCreating a Basic VM in Proxmox
With the server both secure and up-to-date, you can now create your first virtual machine inside Proxmox. Begin by clicking the local entry on your dashboard’s left sidebar.
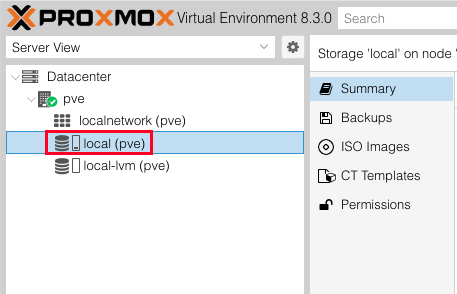
Select the ISO Images category, then click Upload. This will bring up a small pop-up window where you can select a local ISO image on your desktop that you can upload to your homelab.

Note: you can also click the Download from URL button to let Proxmox download the ISO image from its source website.
Once done, click the Create VM button on the dashboard’s upper right corner.

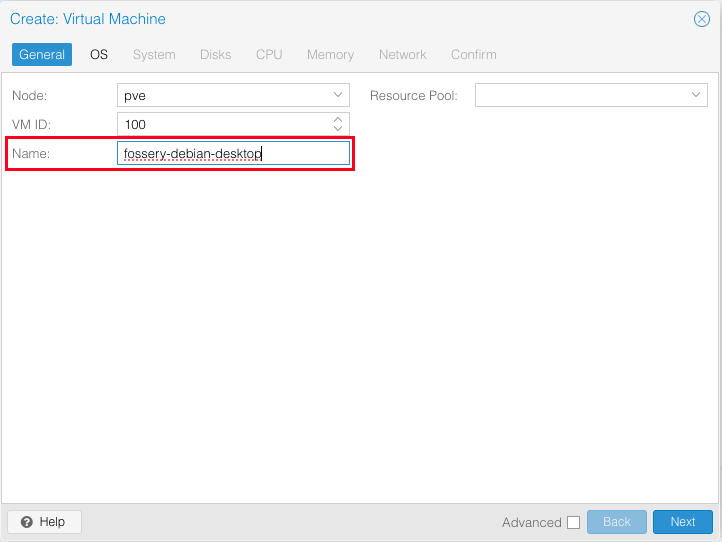
Provide a name for your new virtual machine, then click Next.
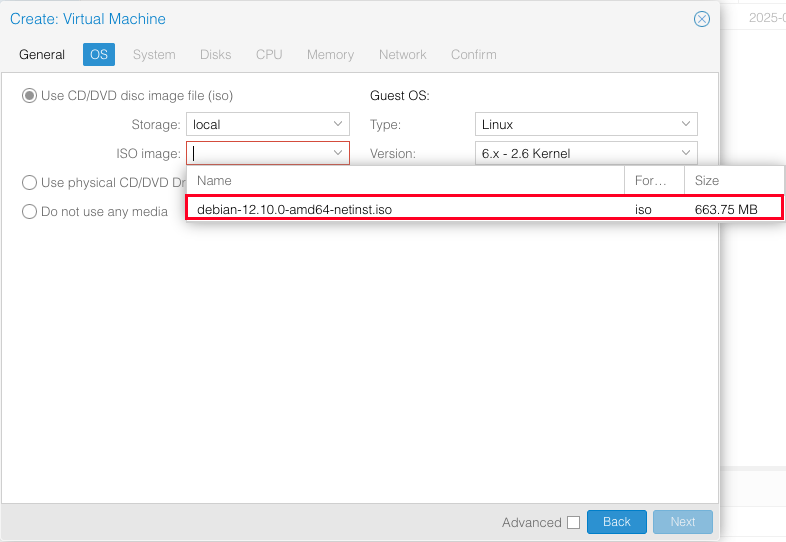
Select your installer ISO from the ISO image drop down box, then click Next. In my case, I will install Debian as a VM in my Proxmox server.
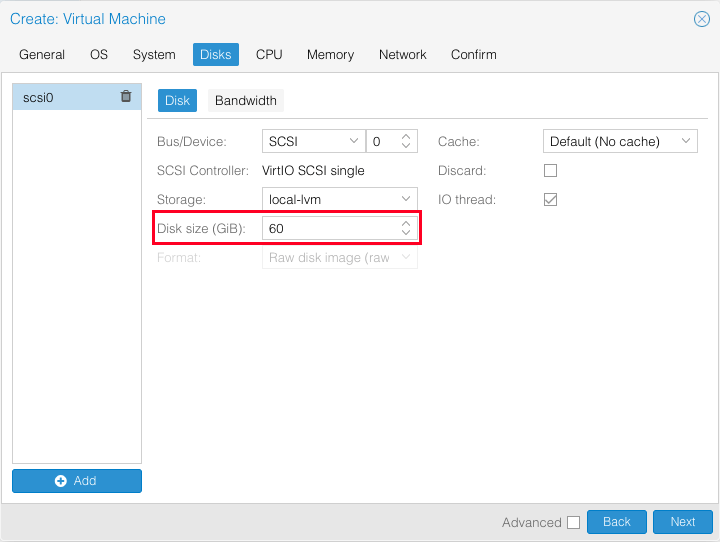
Use the default settings for the System, Disks, CPU, Memory, and Network sections. Conversely, you can tweak each option in these sections to customize your new VM further. For example, setting the value of the Disk size (GiB) in the Disks category will determine the total size of your VM’s hard disk.
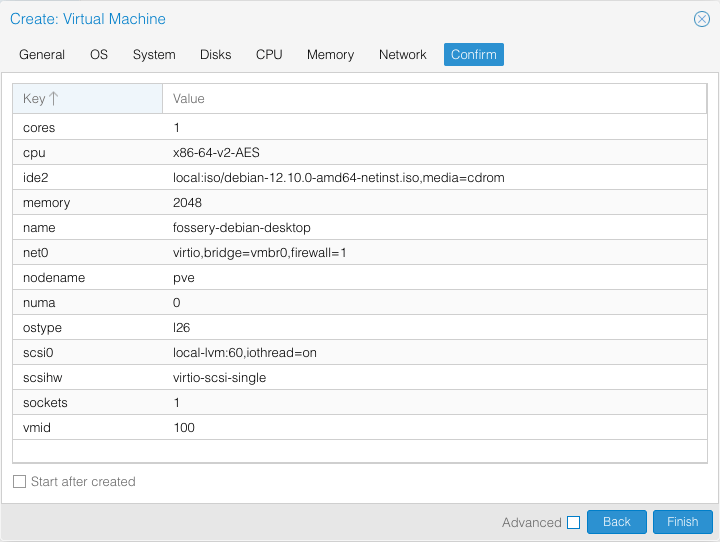
Verify the current configuration of your Proxmox VM, then click Finish to create it.
Select your new VM from the dashboard’s left sidebar.
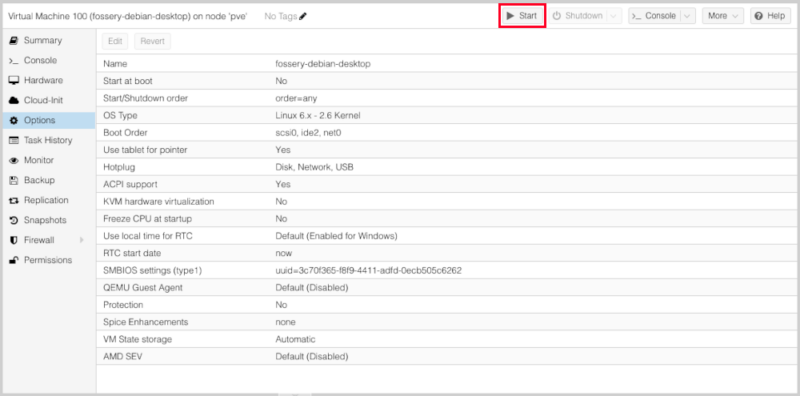
Lastly, click Start on the VM’s overview window to start the installation process for your guest system.
Wrapping Up
With Proxmox running on your server, you can now explore and install different homelab apps for your local network. Start your self-hosting journey today by installing Docker and Tailscale on your Proxmox guest systems.
All alterations and screenshots by Ramces Red.

Be the first to comment! Get the discussion going.